Installation
Installation and Setup Instructions
How to Add Cookie Banner on WordPress Website
In this guide, we'll walk you through the CookiePal installation on a WordPress website
Table of contents
back
to the top
CookiePal helps you ensure your WordPress application complies with GDPR, CCPA, LGPD, and other privacy laws by managing cookie consent for your users. This guide will walk you through the steps to integrate CookiePal with your WordPress application.
Sign up to CookiePal
If you do not yet have a CookiePal account or have not yet configured your banner, follow the steps below.
1. Sign up for CookiePal.

2. After confirming your email, you will be directed to the setup screen. Choose your setup option.
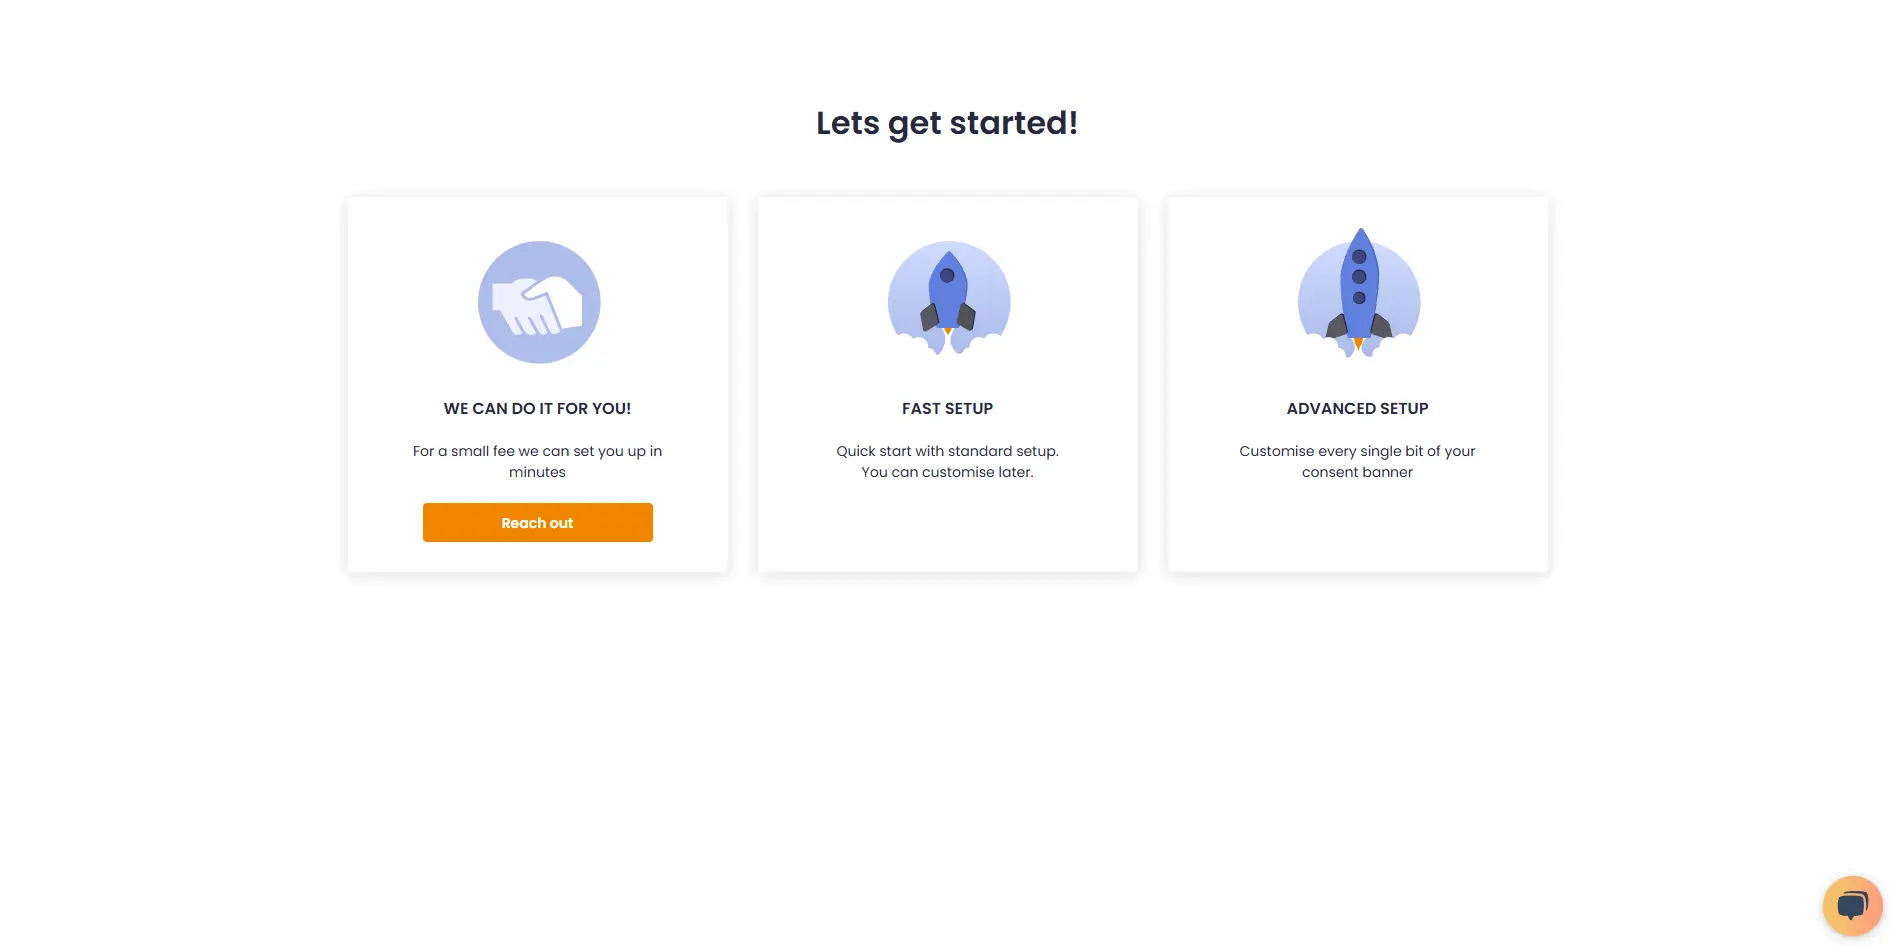
• We can do it for you!: Select this option to let our team handle the setup for a small fee.
![• [We can do it for you!:bold]: Select this option to let our team handle the setup for a small fee.](/_next/static/media/we-can-do-it-for-you.e1c36463.webp)
• Fast Setup: Quickly configure your banner by selecting its position and colors. You can still customise other details later in customisations.
![• [Fast Setup:bold]: Quickly configure your banner by selecting its position and colors. You can still customise other details later in [customisations:https://app.cookiepal.io/customisation].](/_next/static/media/customise-banner-colors-and-positions.5ac76d26.webp)
• Advanced Setup: Customise every detail of your banner. In addition to position and colors, you can edit the content and default language, and adjust the logo's colors and position.
![• [Advanced Setup:bold]: Customise every detail of your banner. In addition to position and colors, you can edit the content and default language, and adjust the logo's colors and position.](/_next/static/media/customise-banner-content.49d06789.webp)
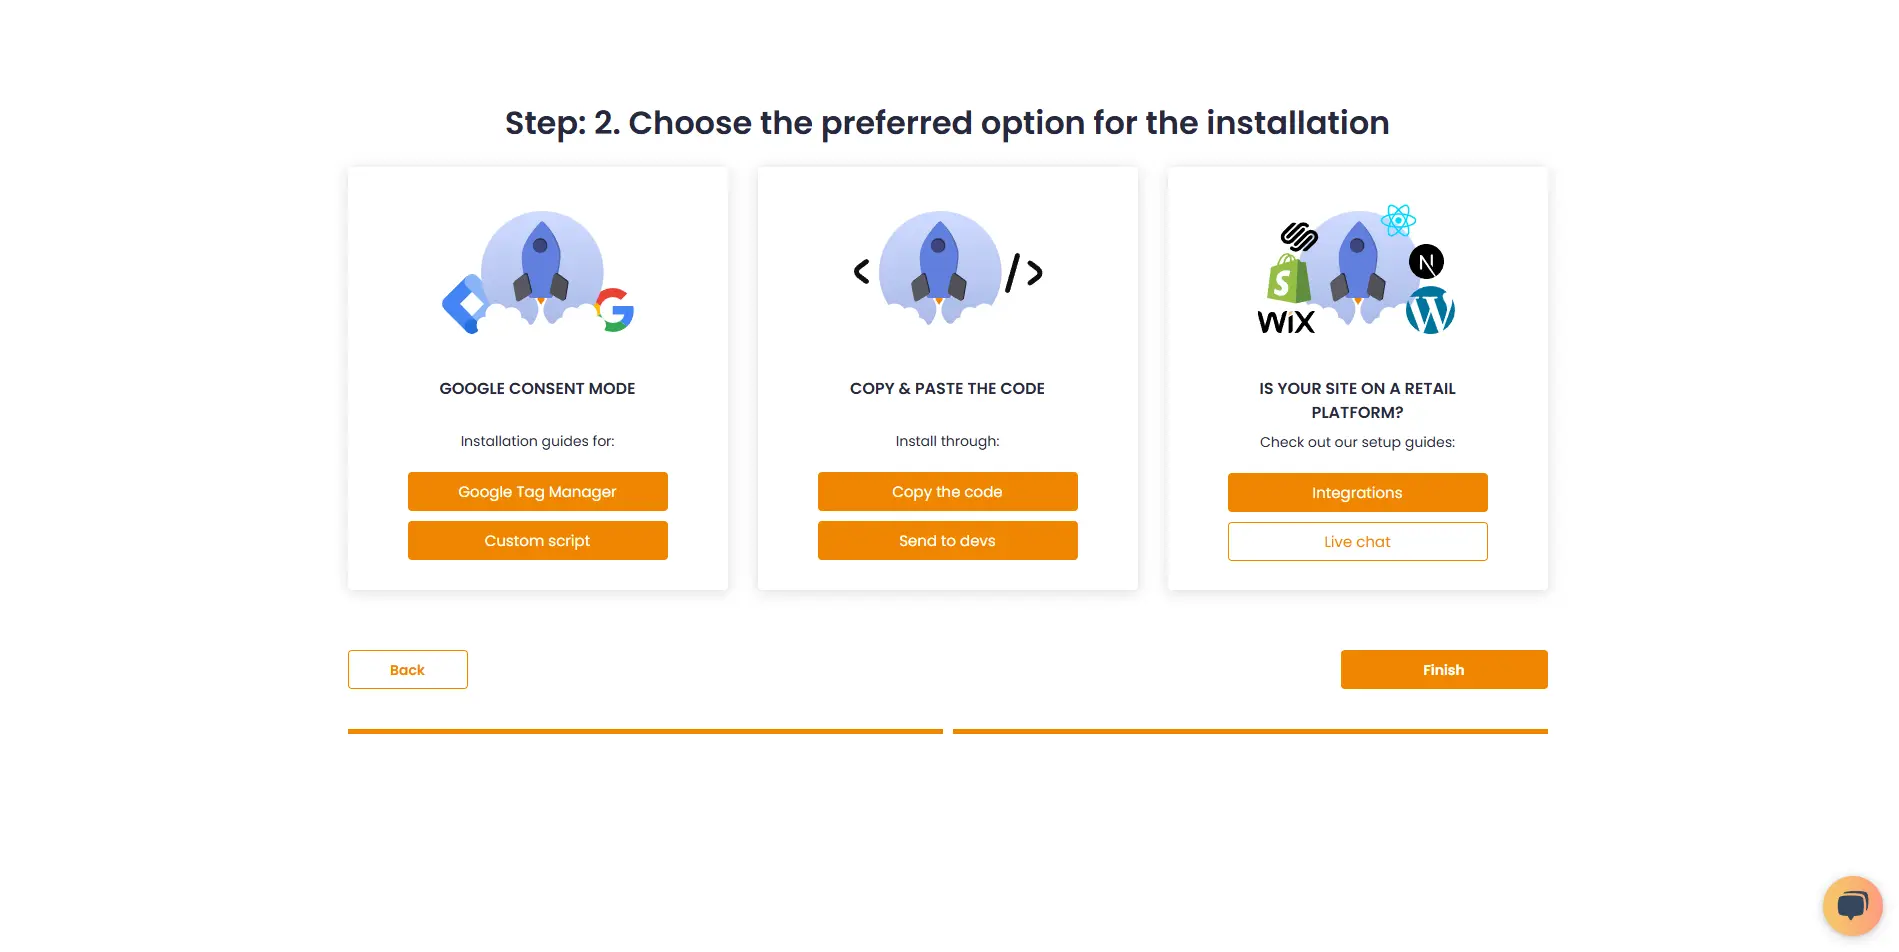
4. Choose your preferred installation method and complete the setup.
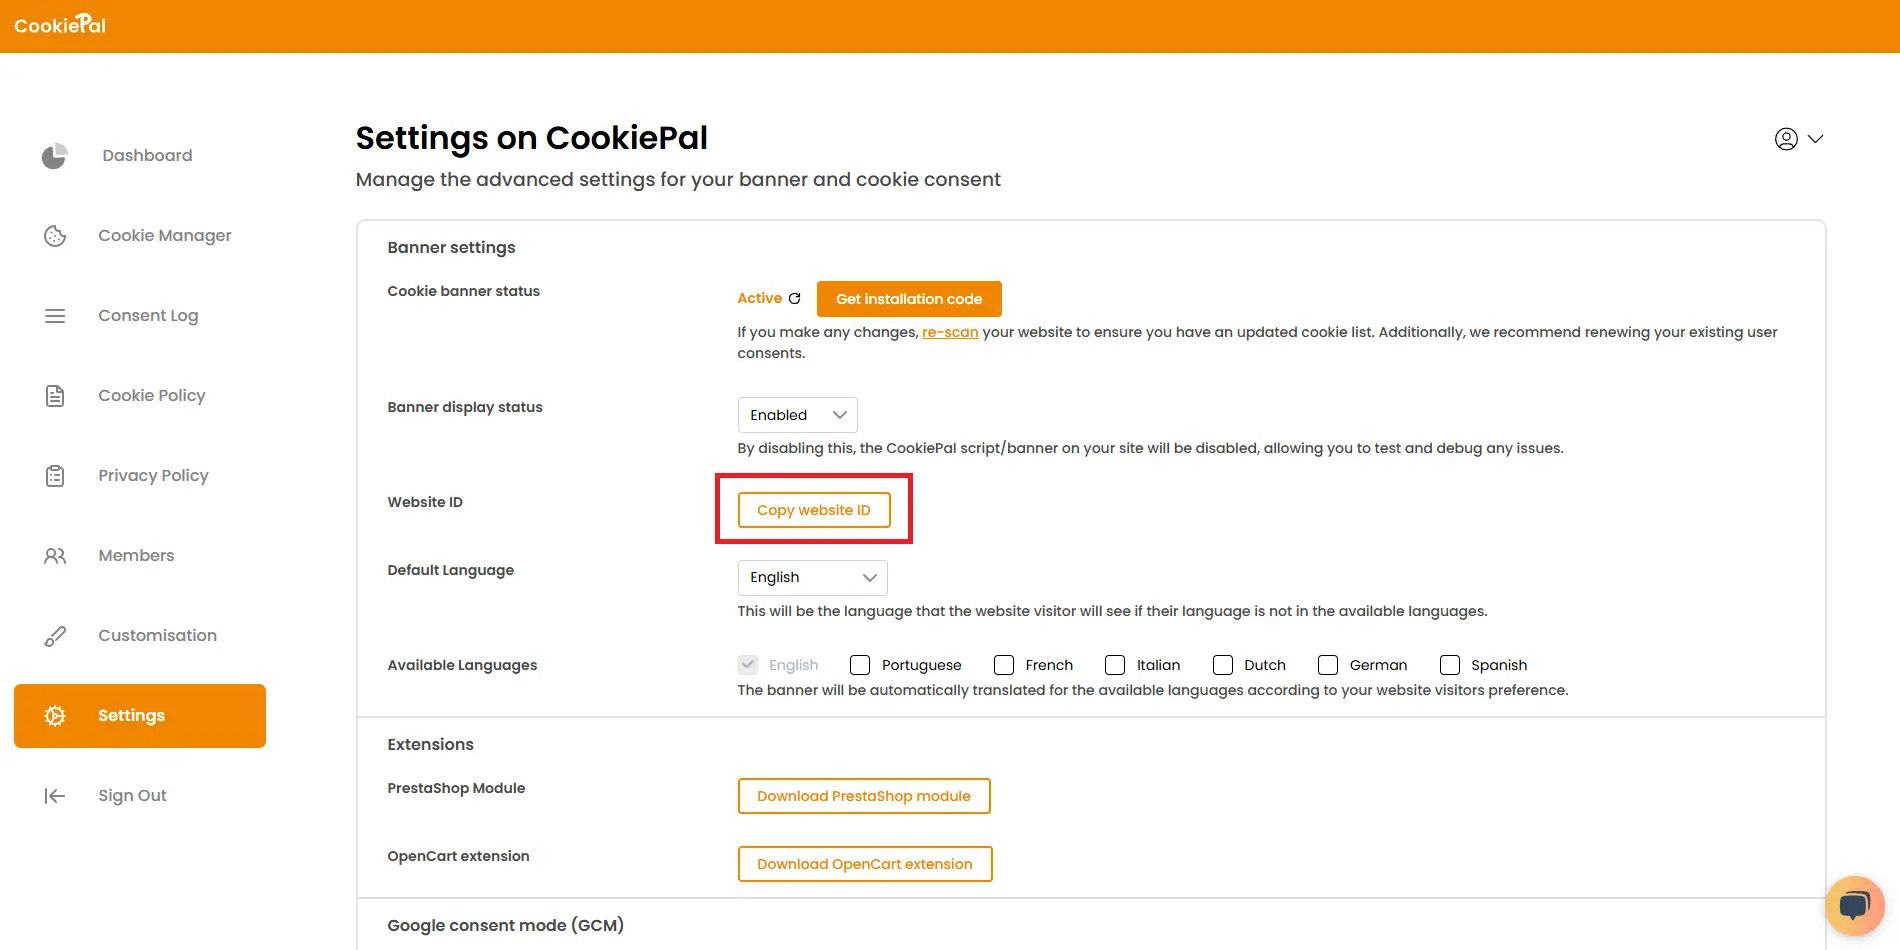
Access Settings: Open the settings page in your CookiePal dashboard.
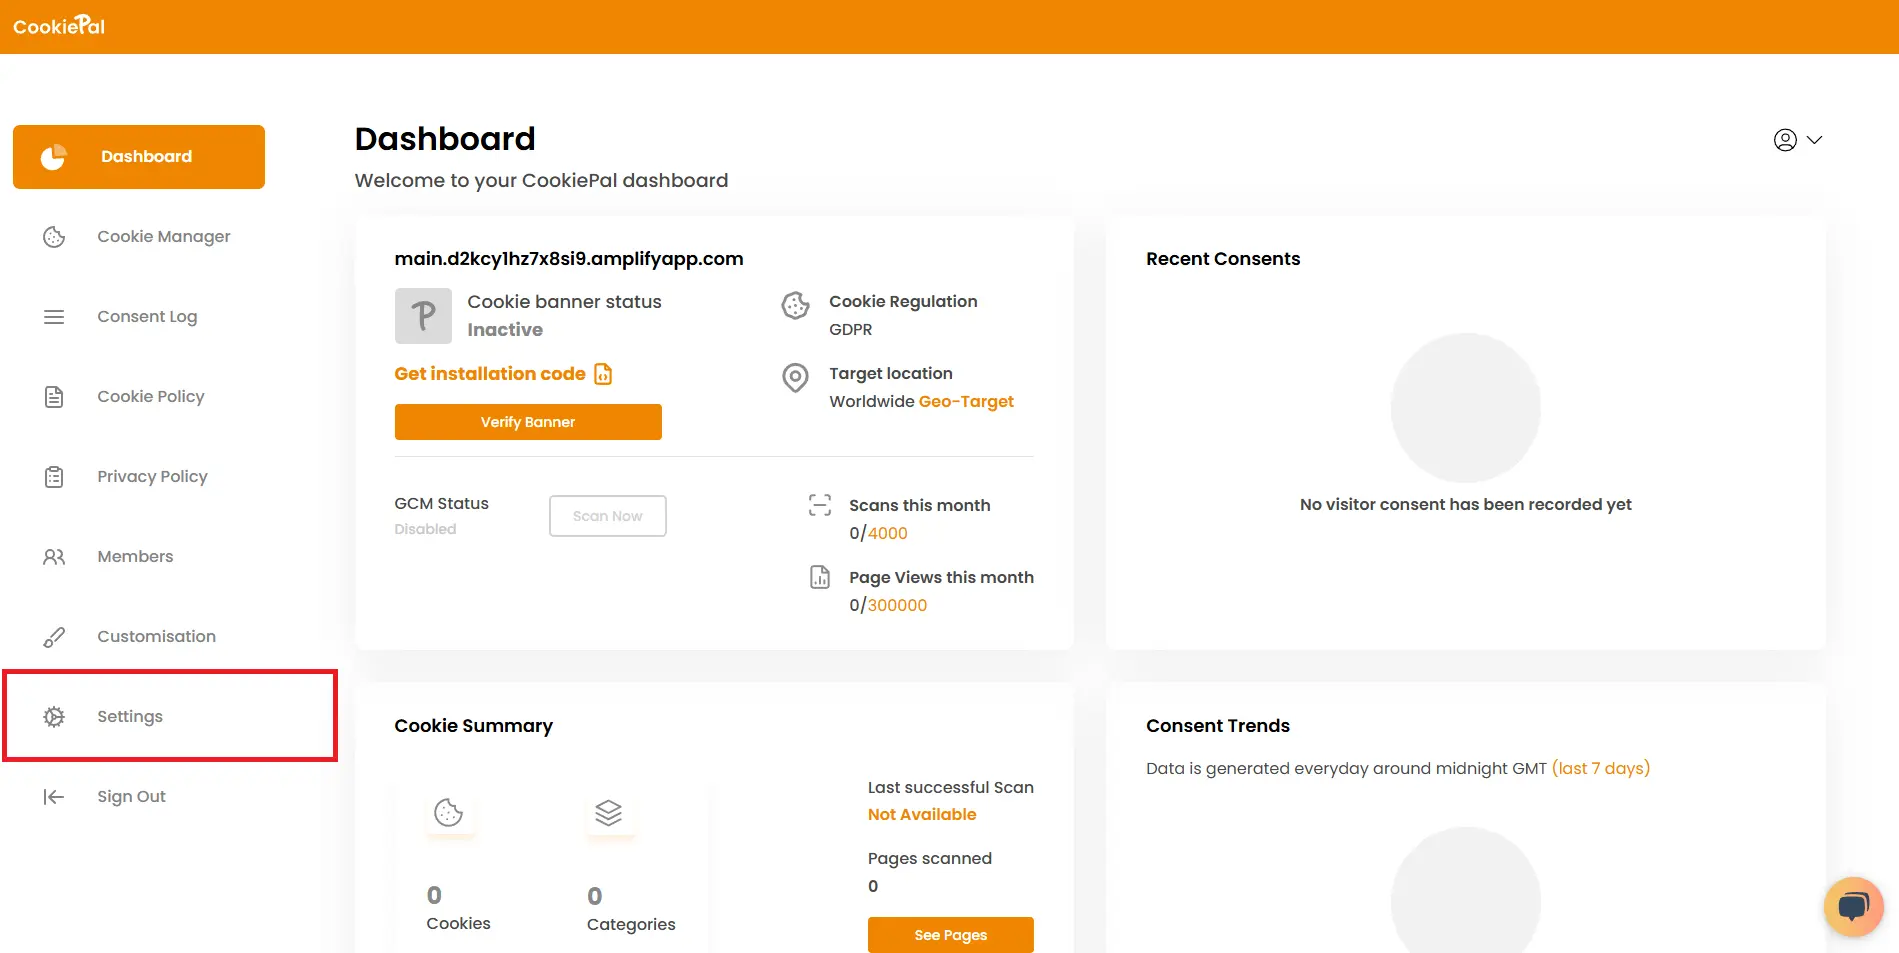
Copy Website ID: In settings, click "Copy Website ID" to save the ID for use in your integration.
Install the CookiePal Plugin
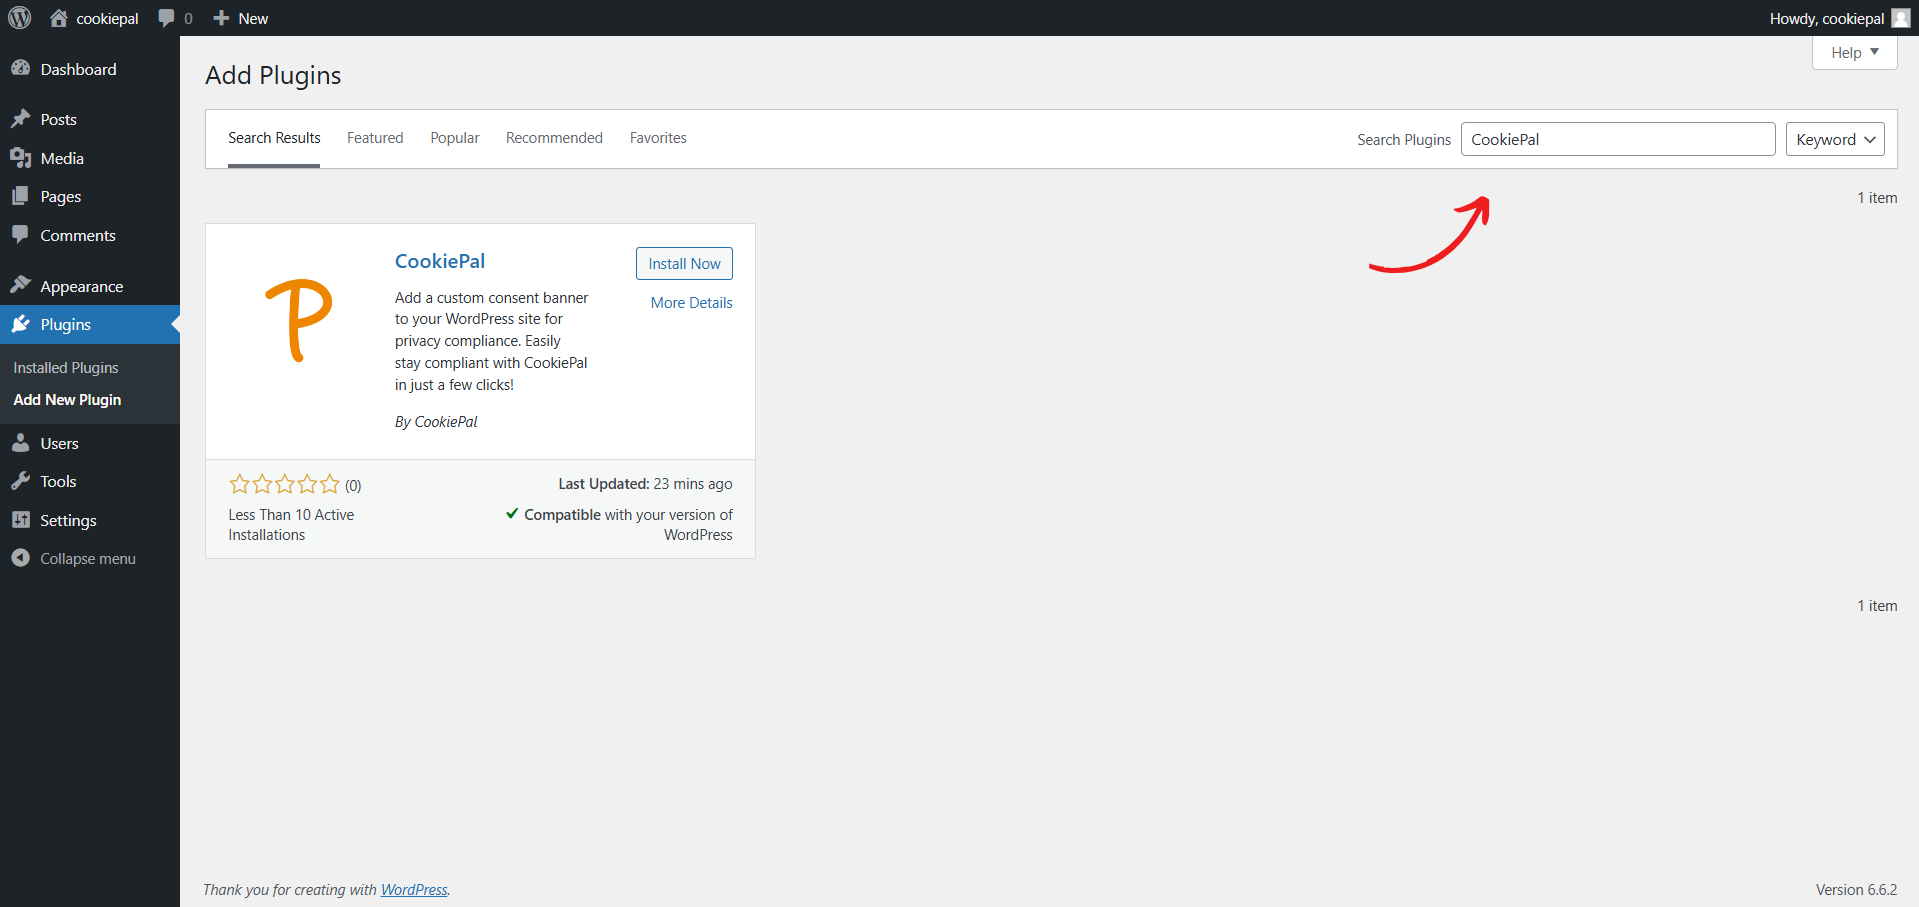
Plugin Installation: In the WordPress admin panel, go to 'Plugins' > 'Add New' and search for 'CookiePal'.
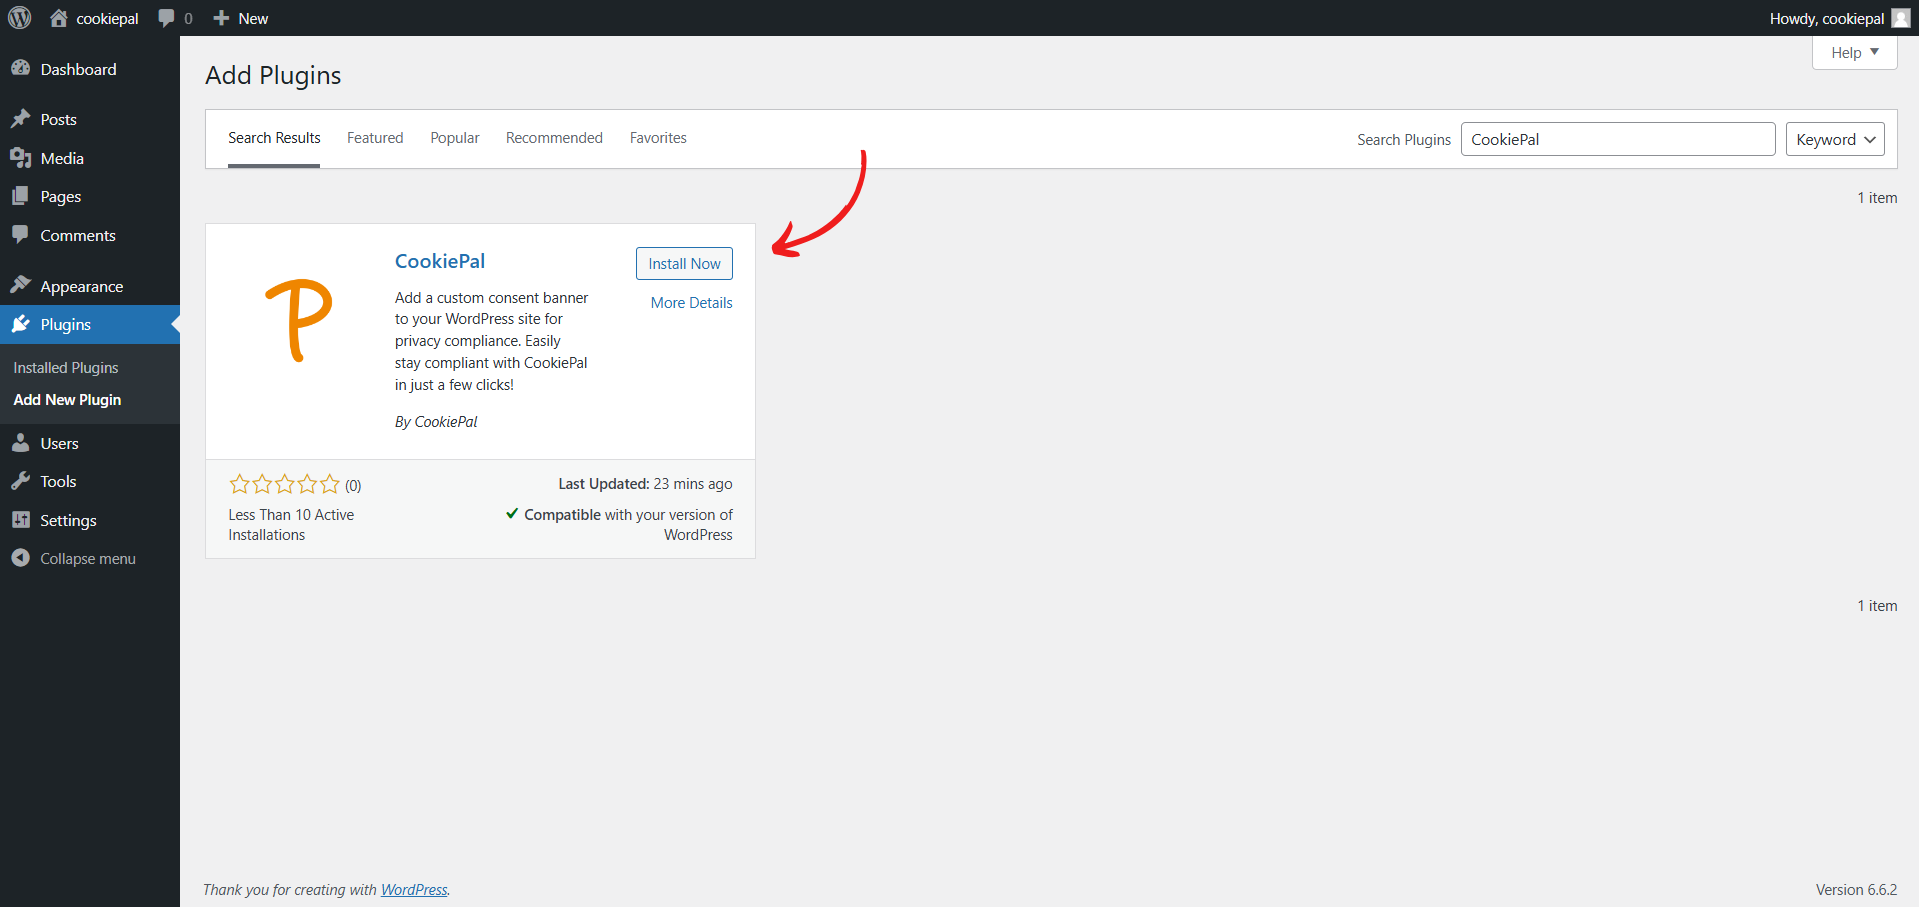
Install CookiePal: Click 'Install Now'.
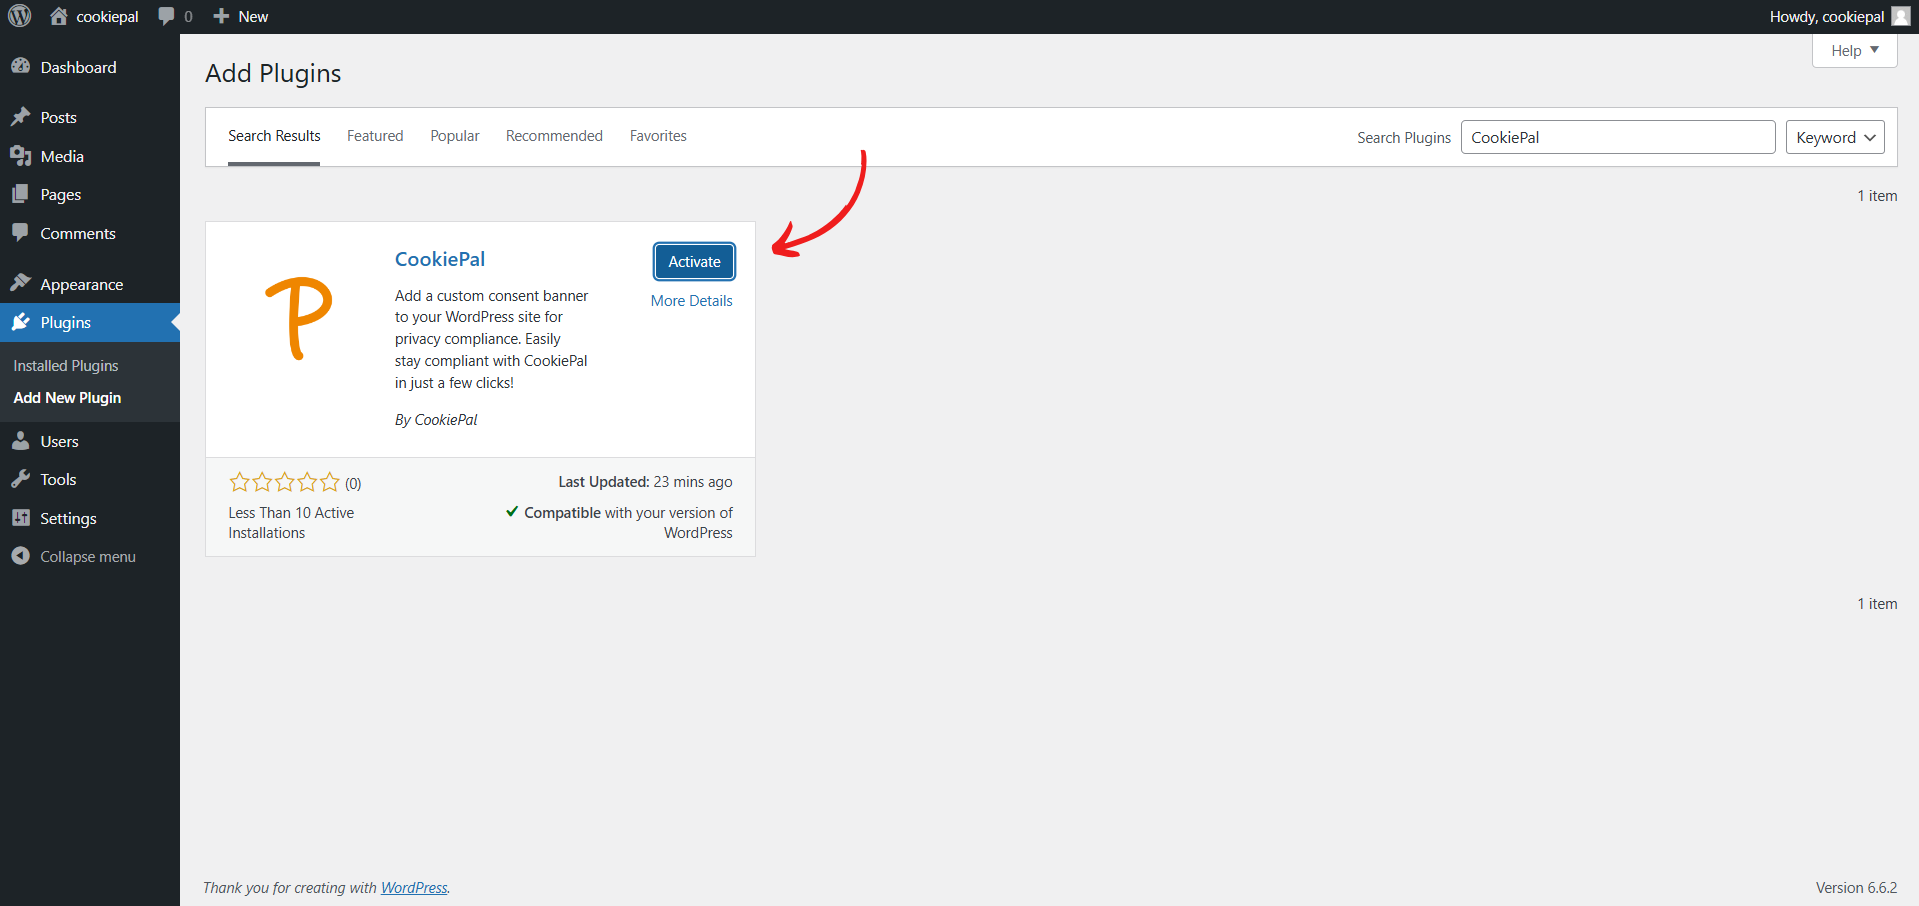
Activate Plugin: Click 'Activate'.
Configure the CookiePal Plugin
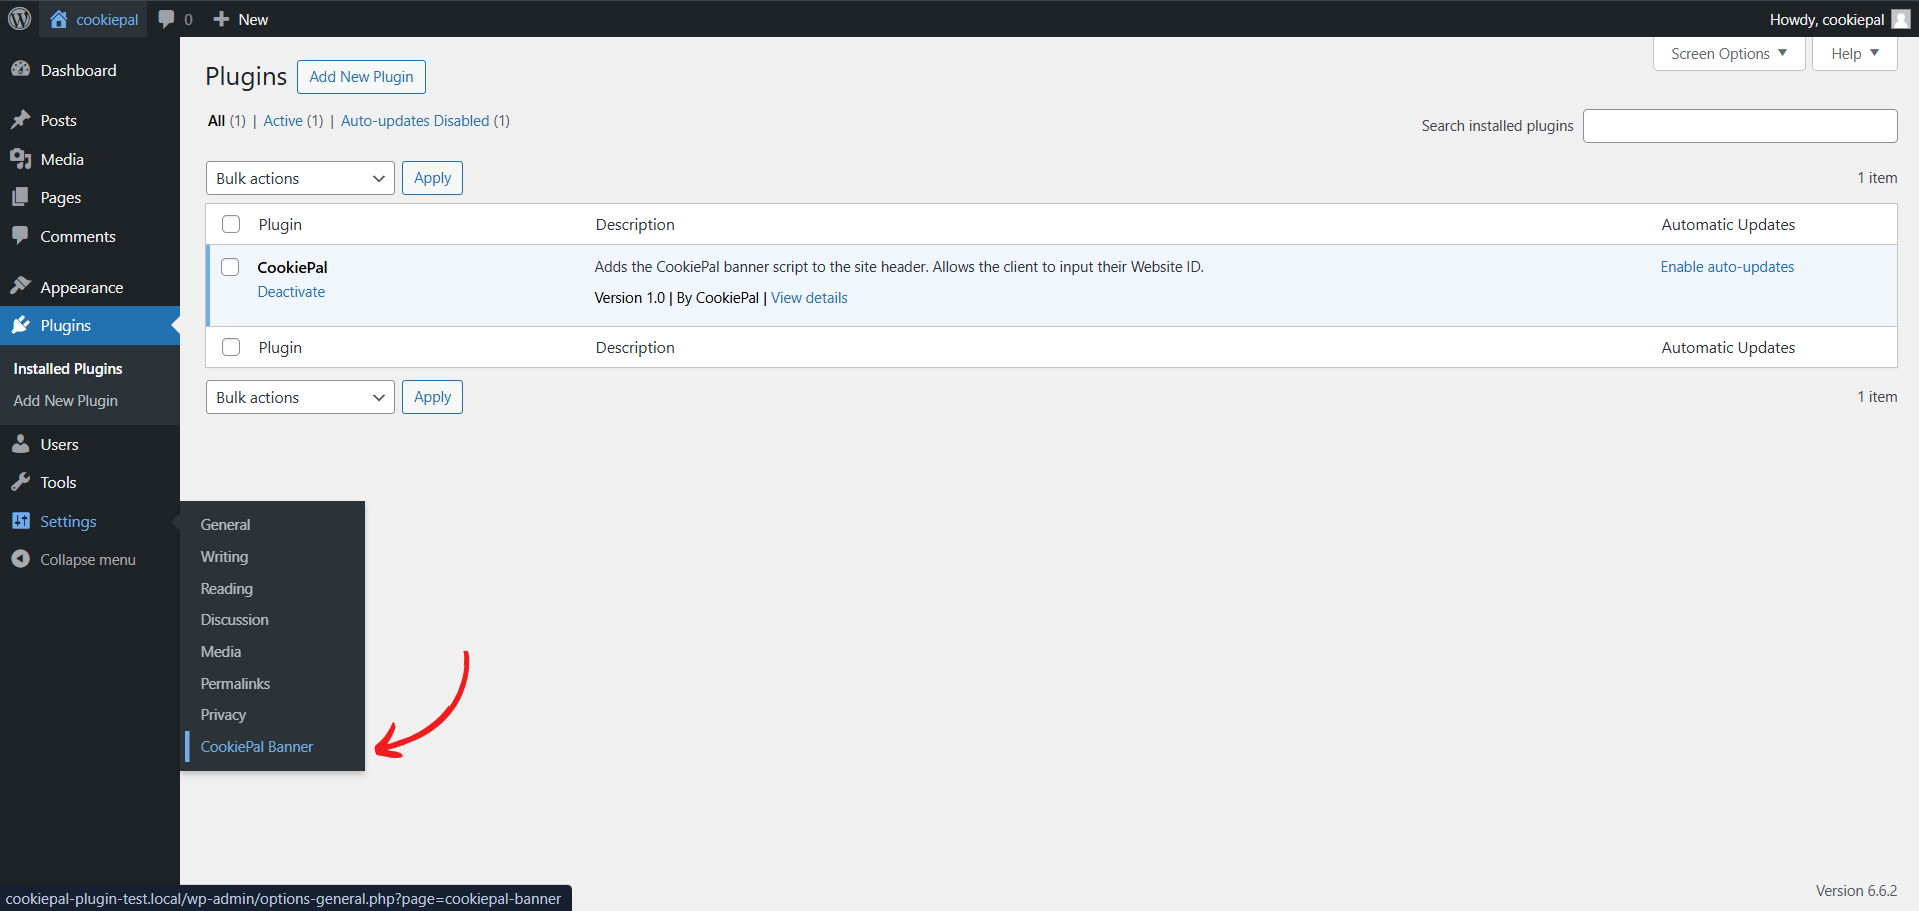
Open Plugin Settings: In the WordPress admin panel, go to "Settings" > "CookiePal Banner".
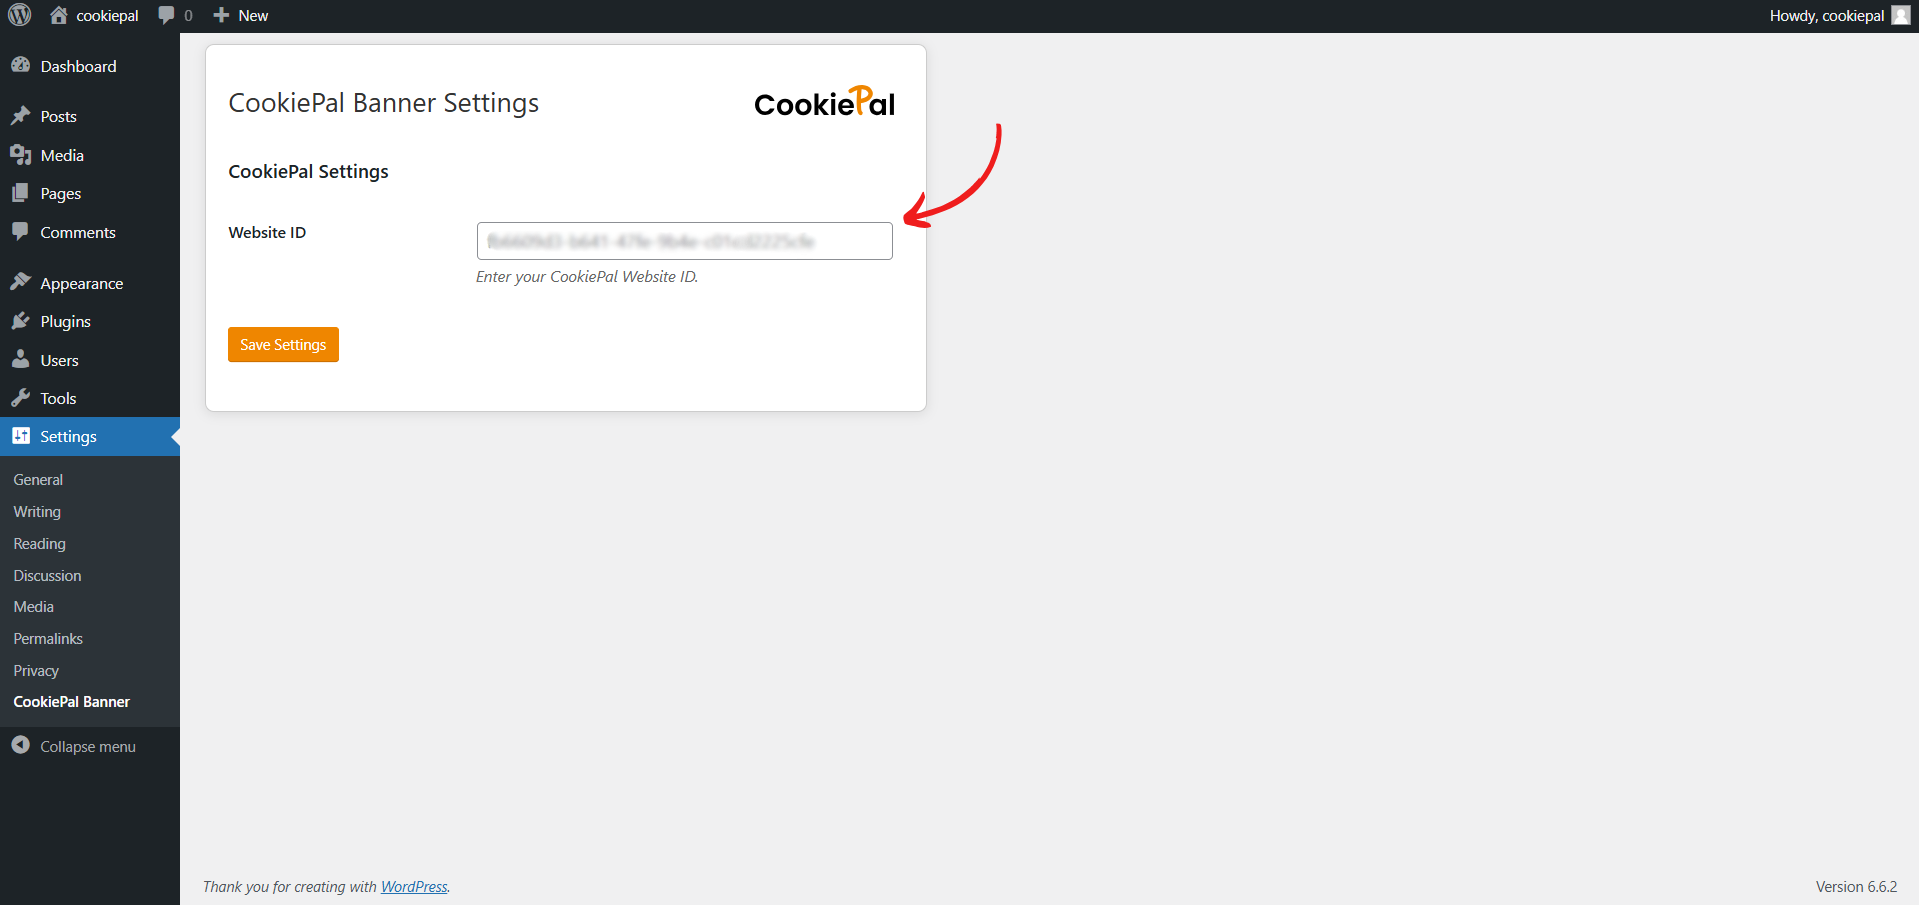
Enter Website ID: Input your website ID provided by CookiePal.
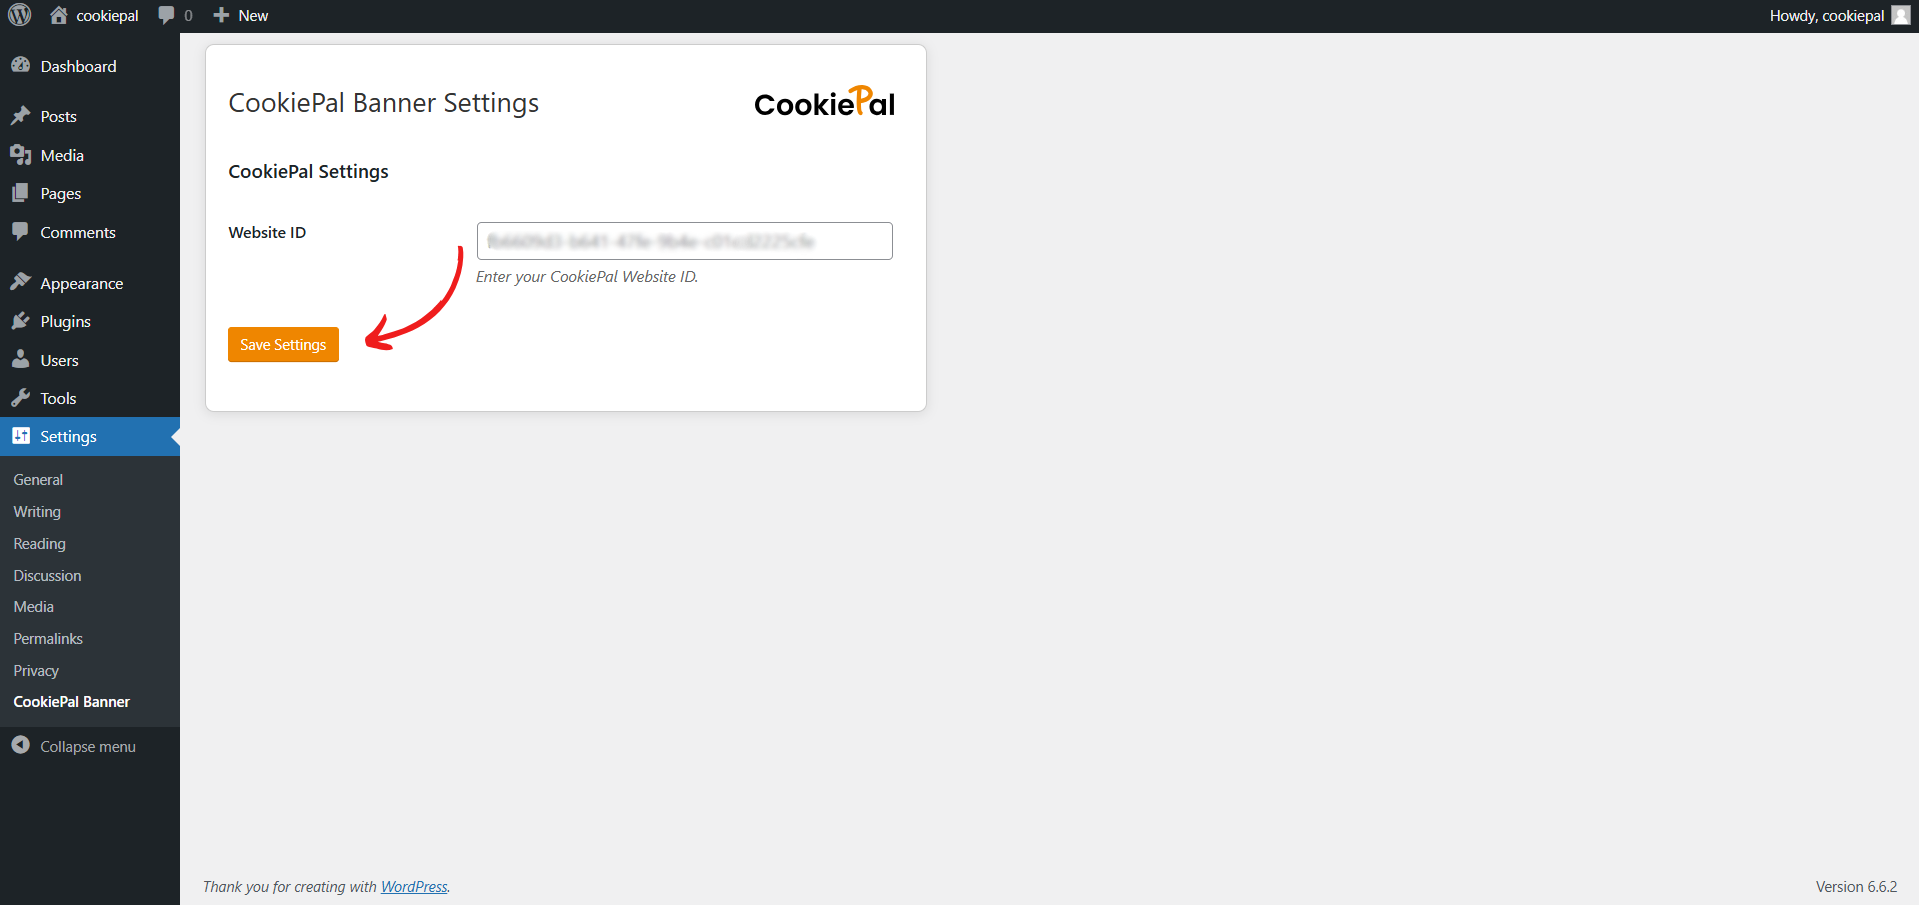
Save Changes: Click "Save Settings" to apply your changes.
The WordPress plugin installs the CookiePal banner and supports consent workflows for GDPR, LGPD, and CCPA when your CookiePal dashboard is configured for your site’s target regions.
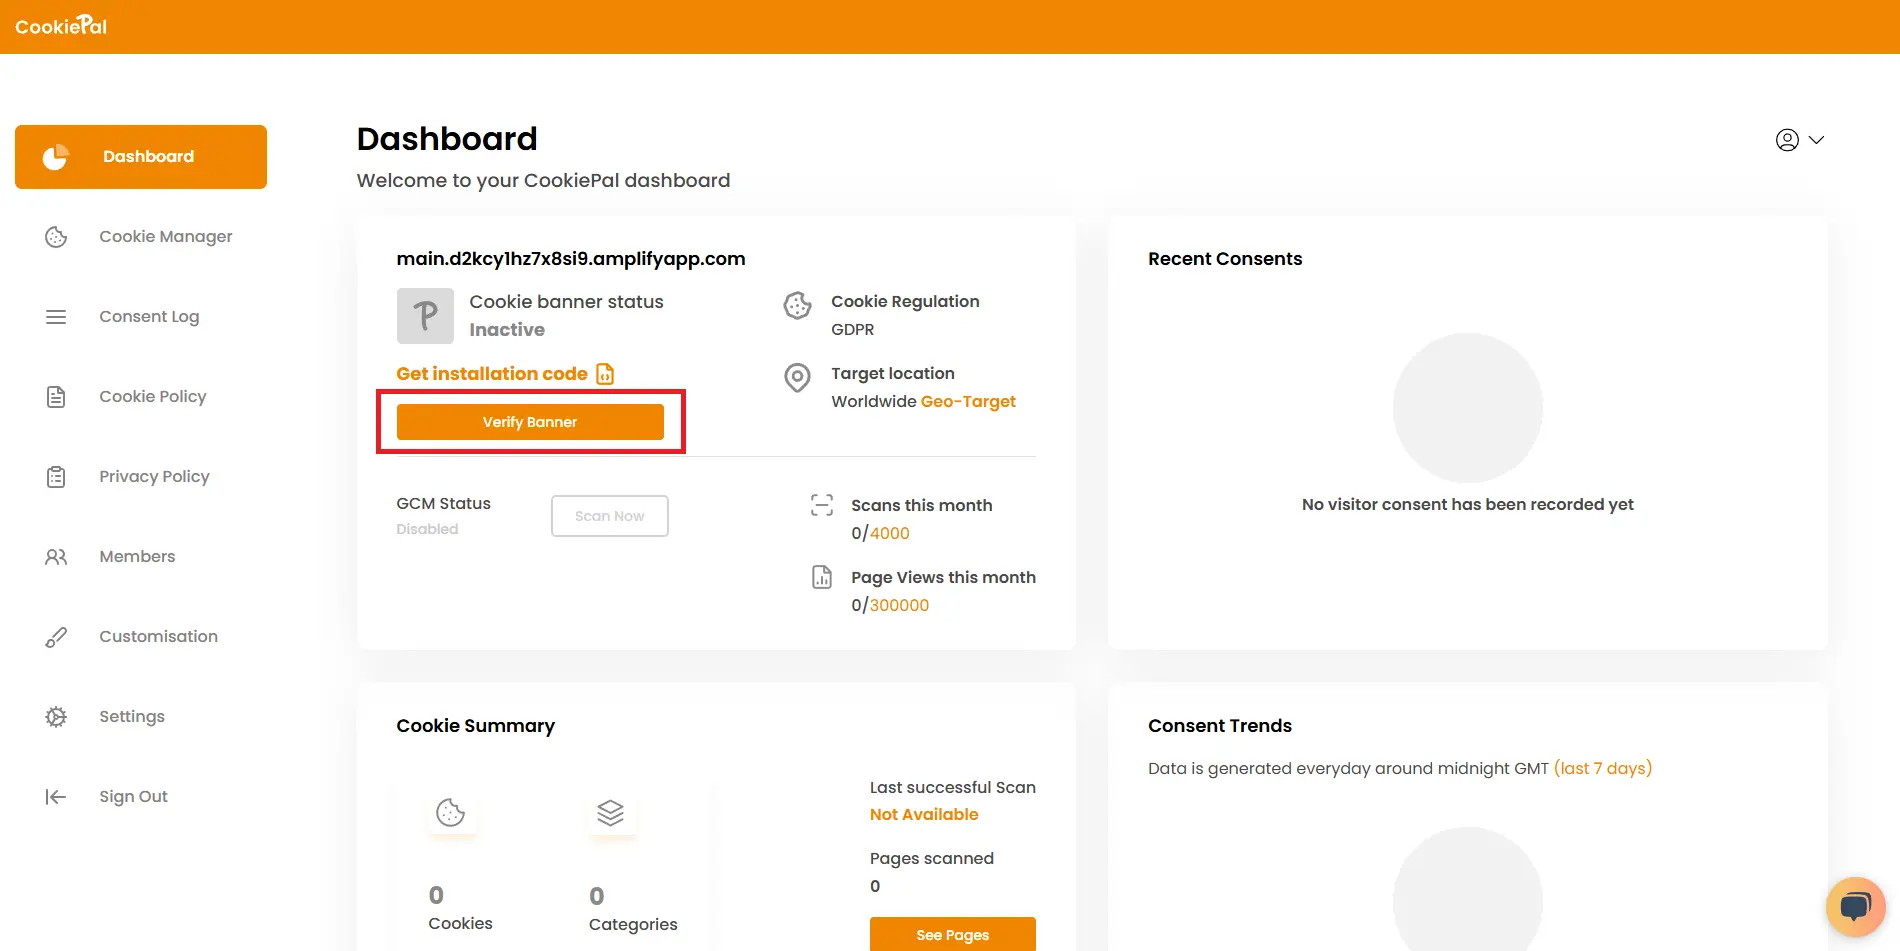
Verify the Cookie Banner
Verify Banner: Return to the CookiePal dashboard and ensure that the cookie banner is active on your website. The status should display as "Active".
Test Implementation: Visit your website to confirm that the cookie consent banner is visible and functioning correctly.
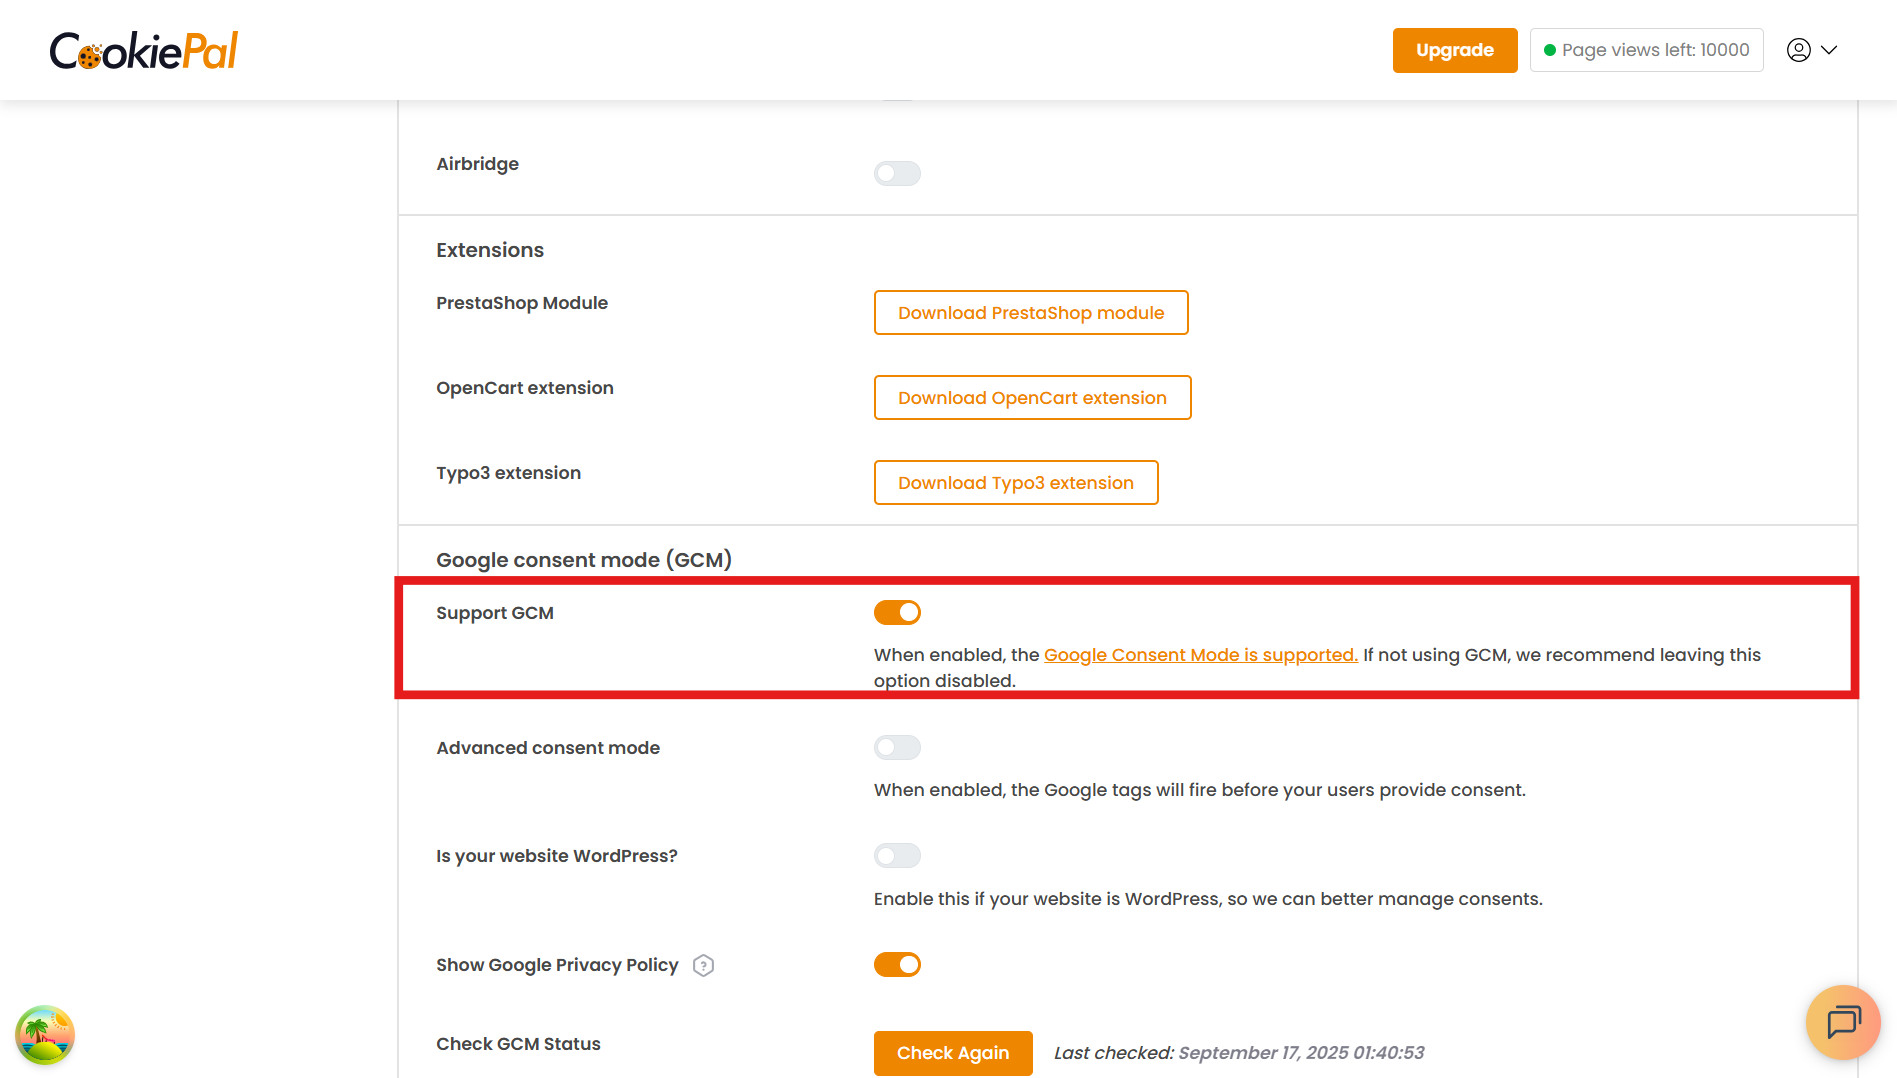
Enable Google Consent Mode
If you want to use Google Consent Mode (GCM), you need to activate it in the Settings section of the CookiePal dashboard.