Installation
Installation and Setup Instructions
How to Add Cookie Banner on OpenCart Website
In this guide, we'll walk you through the CookiePal installation on a OpenCart website
Table of contents
back
to the top
CookiePal helps you ensure your OpenCart application complies with GDPR and other privacy laws by managing cookie consent for your users. This guide will walk you through the steps to integrate CookiePal with your OpenCart application.
Create a CookiePal account
If you do not yet have a CookiePal account or have not yet configured your banner, follow the steps below.
1. Sign up for CookiePal.

2. After confirming your email, you will be directed to the setup screen. Choose your setup option.
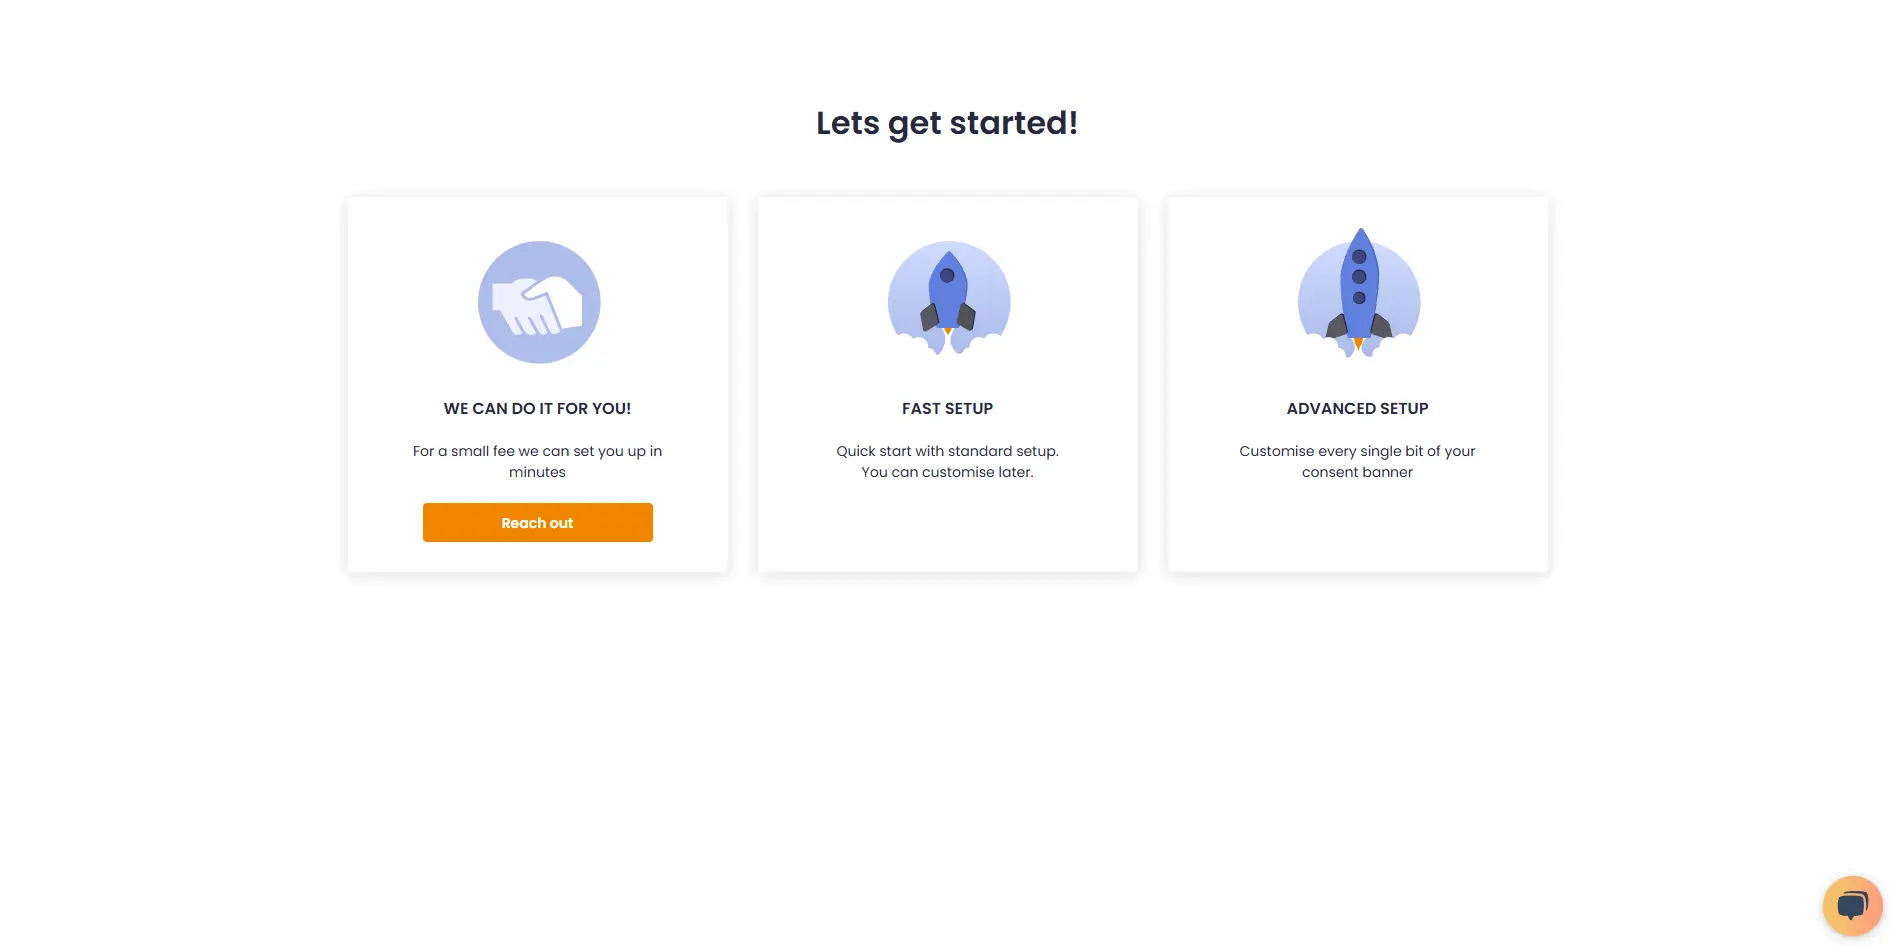
• We can do it for you!: Select this option to let our team handle the setup for a small fee.
![• [We can do it for you!:bold]: Select this option to let our team handle the setup for a small fee.](/_next/static/media/we-can-do-it-for-you.e1c36463.webp)
• Fast Setup: Quickly configure your banner by selecting its position and colors. You can still customise other details later in customisations.
![• [Fast Setup:bold]: Quickly configure your banner by selecting its position and colors. You can still customise other details later in [customisations:https://app.cookiepal.io/customisation].](/_next/static/media/customise-banner-colors-and-positions.5ac76d26.webp)
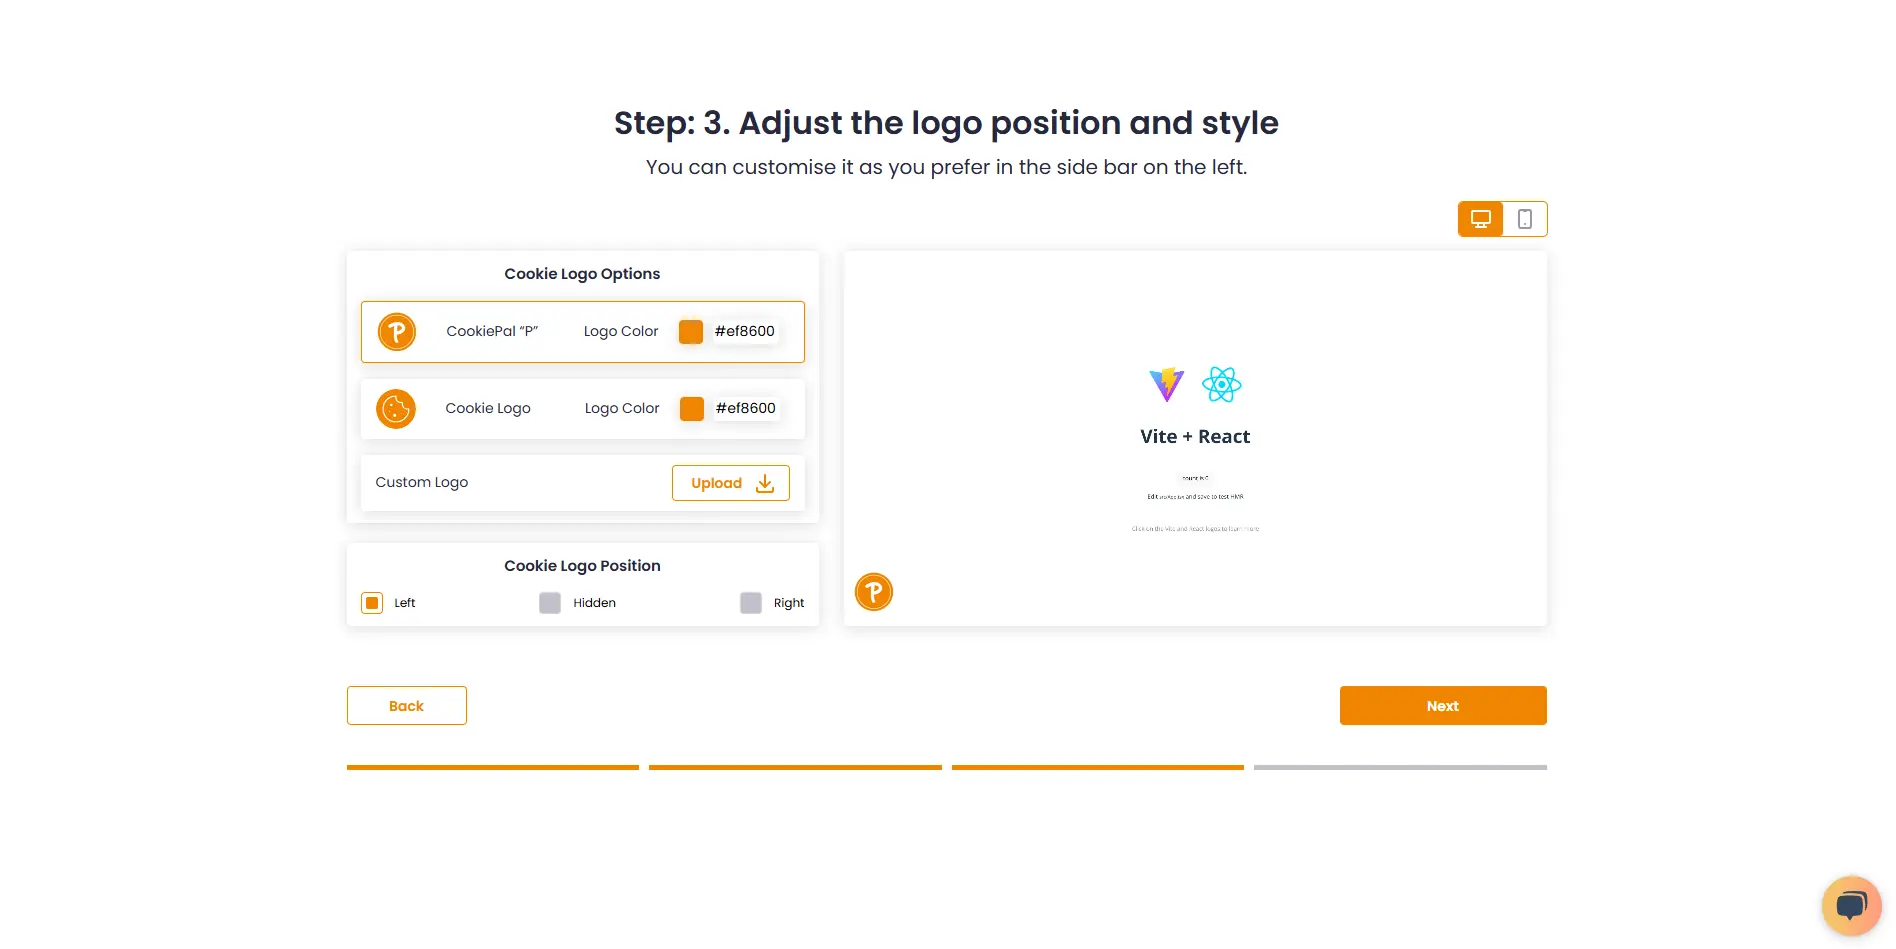
• Advanced Setup: Customise every detail of your banner. In addition to position and colors, you can edit the content and default language, and adjust the logo's colors and position.
![• [Advanced Setup:bold]: Customise every detail of your banner. In addition to position and colors, you can edit the content and default language, and adjust the logo's colors and position.](/_next/static/media/customise-banner-content.49d06789.webp)
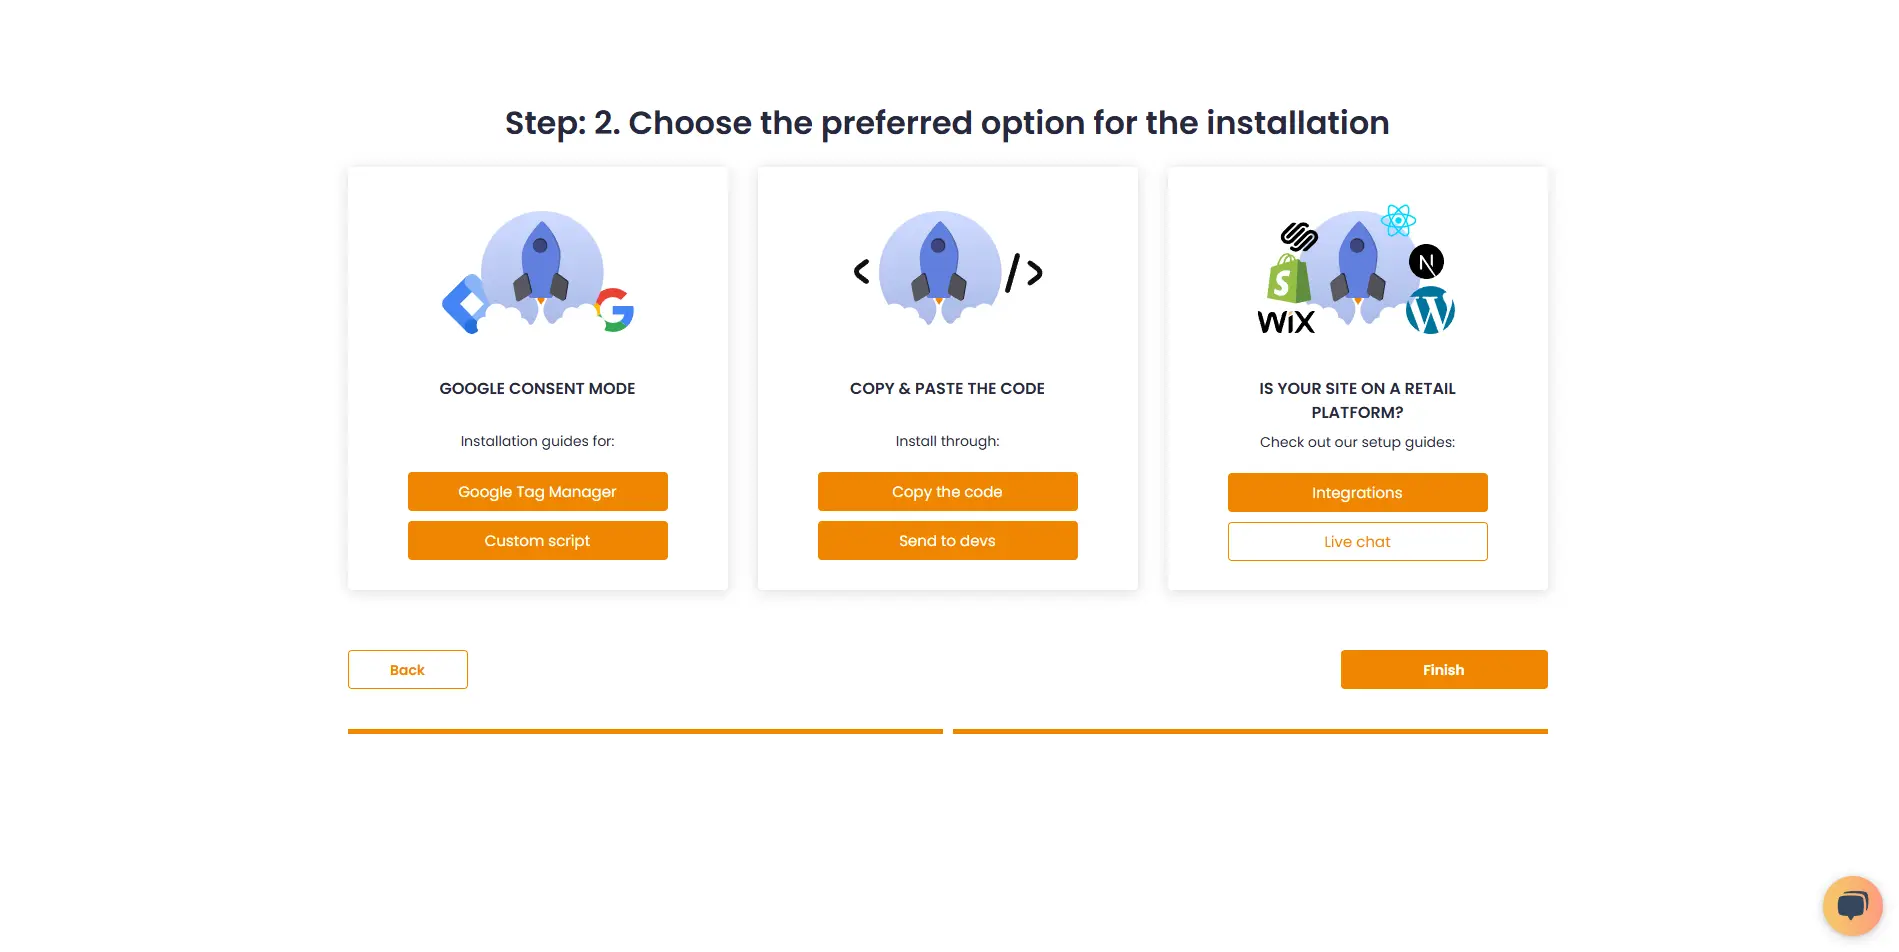
4. Choose your preferred installation method and complete the setup.
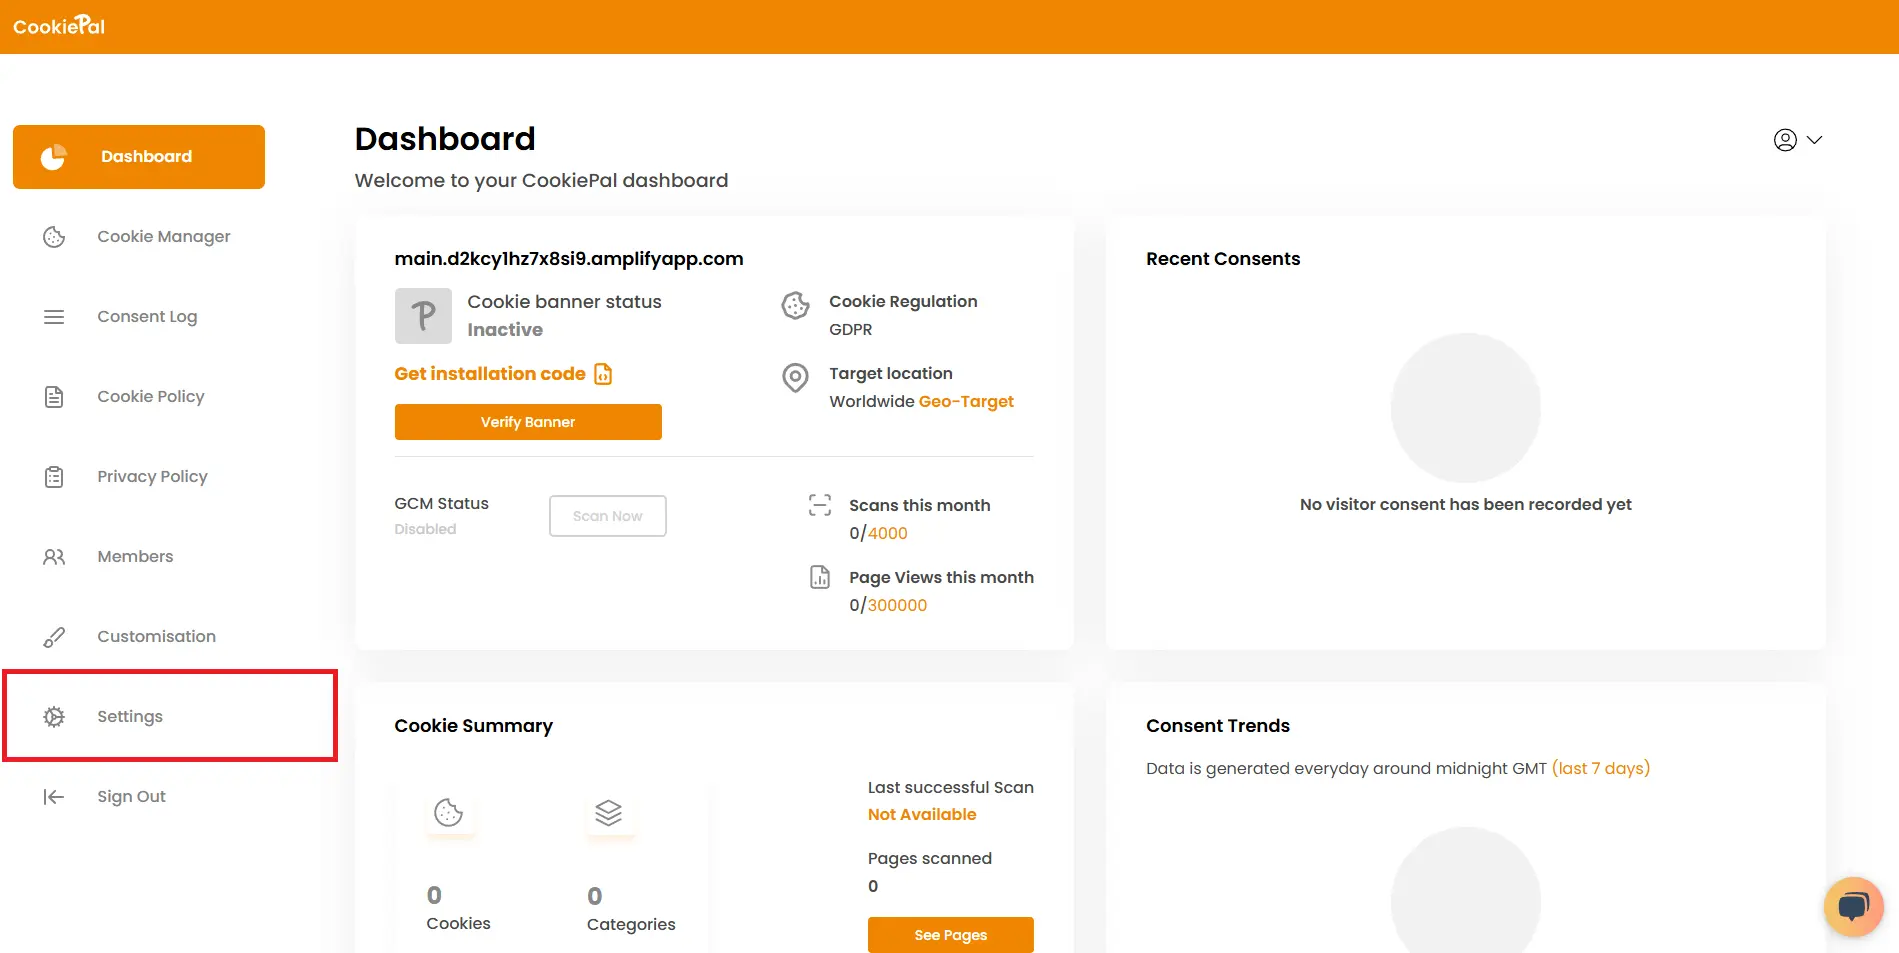
7. Go to settings.
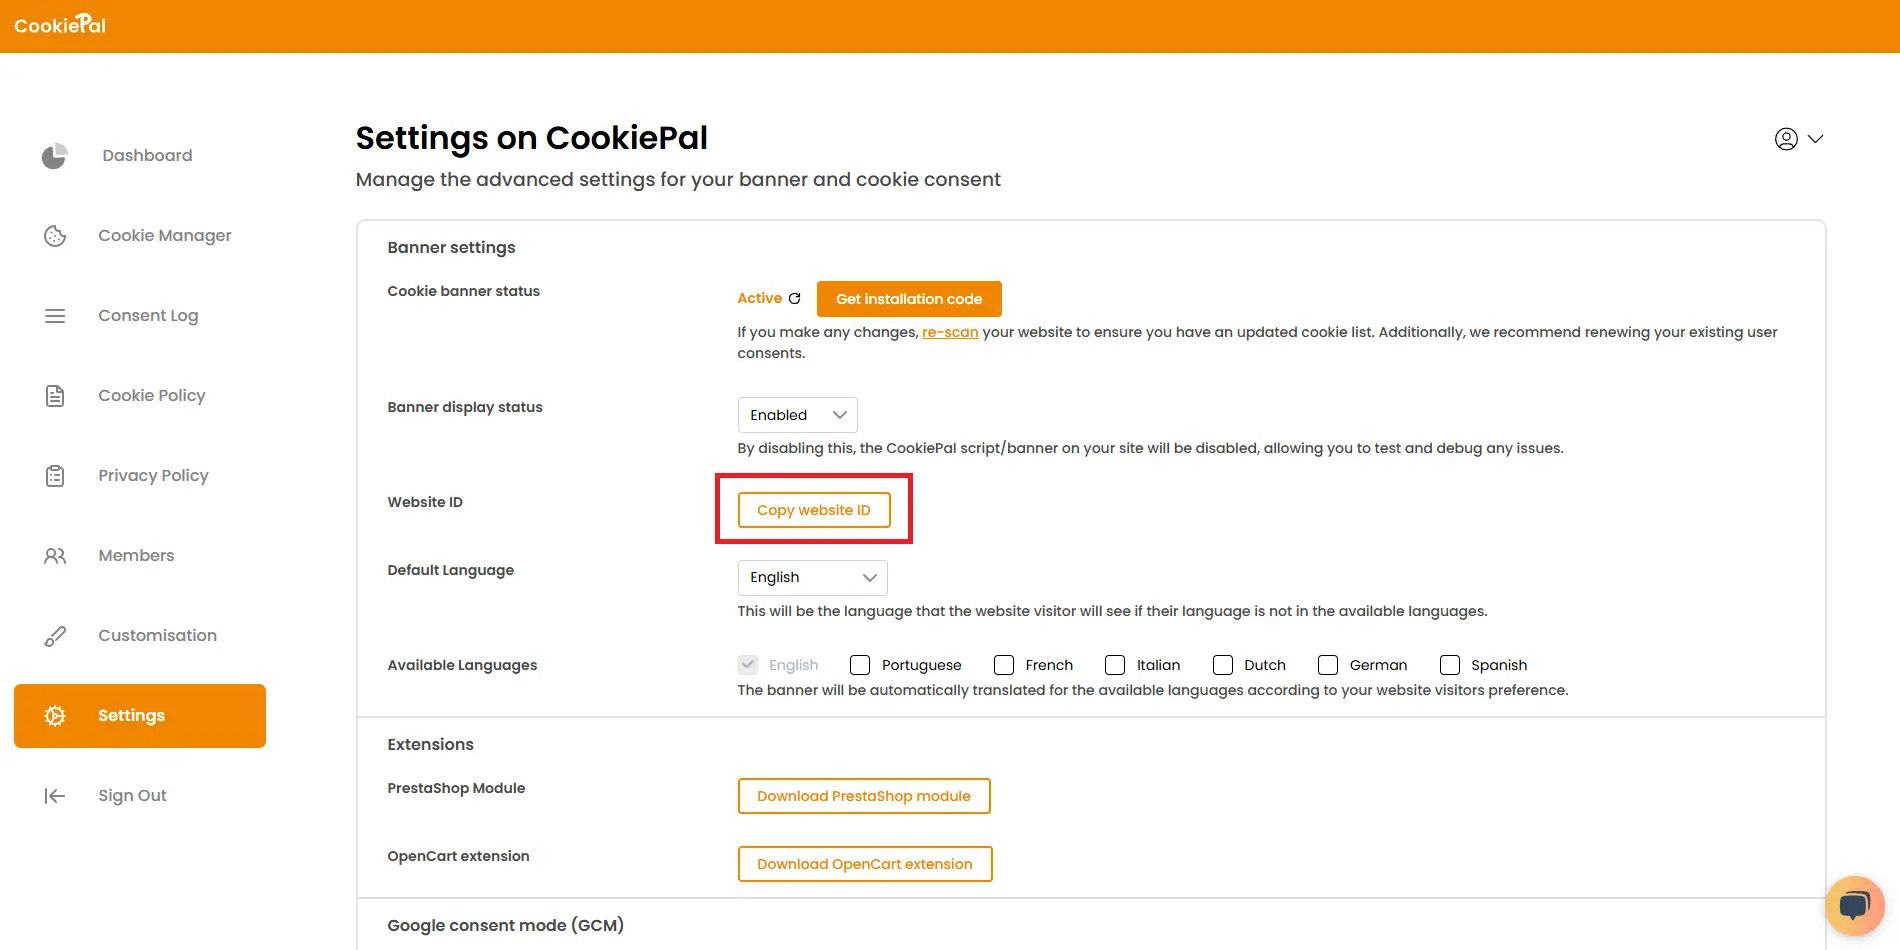
8. Copy your website ID
9. Download the OpenCart CookiePal extension from the CookiePal settings page or from this download link
![9. Download the OpenCart CookiePal extension from the CookiePal settings page or from this [download link:https://cookiepal-assets.s3.us-east-1.amazonaws.com/cookiepal.ocmod.zip]](/_next/static/media/download_opencart_extension.5b208077.webp)
Install the OpenCart extension
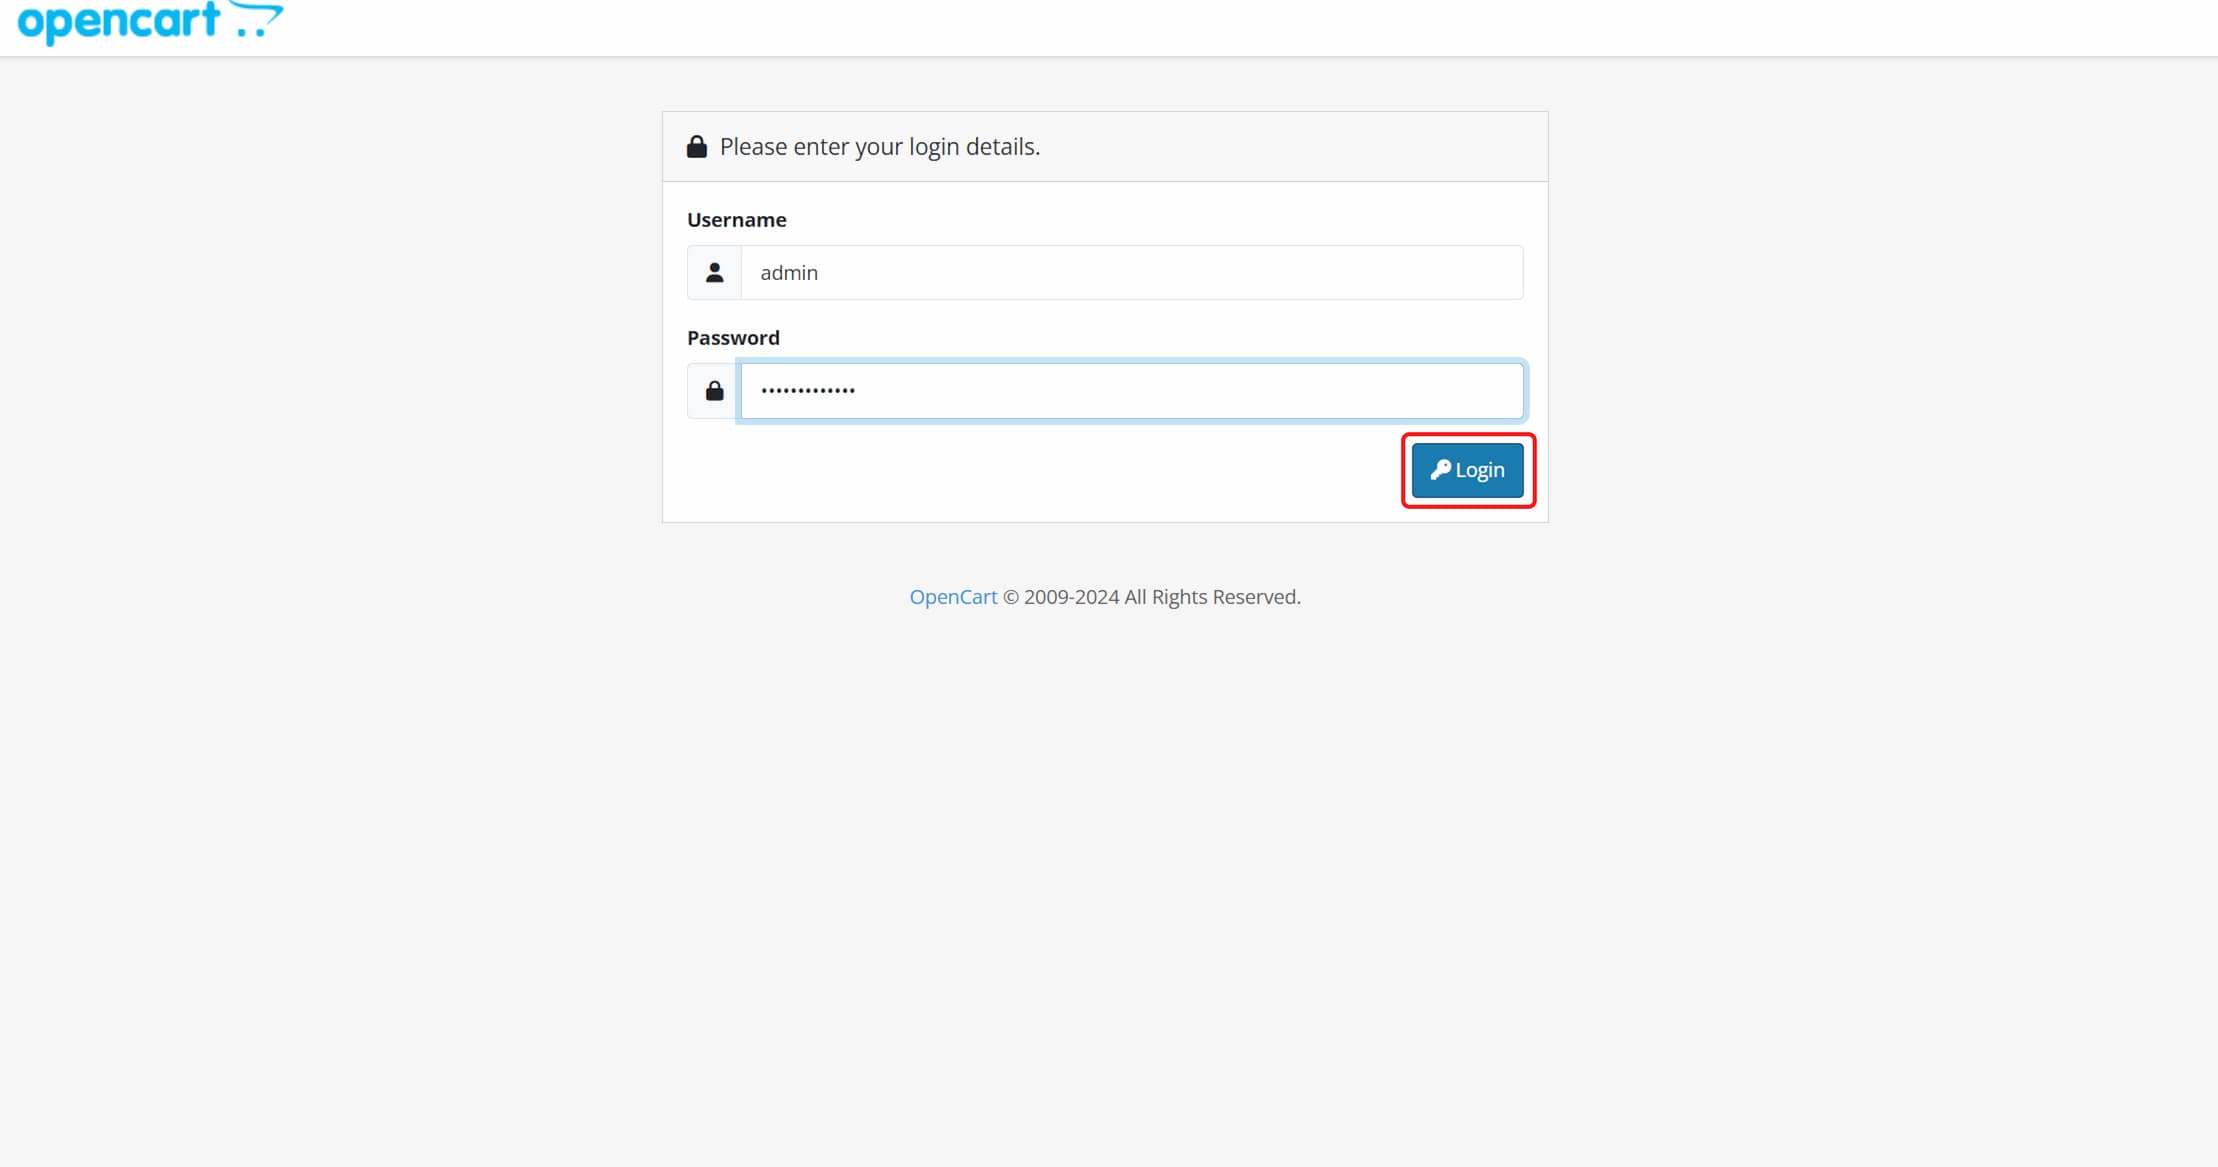
1. Login to your OpenCart admin panel
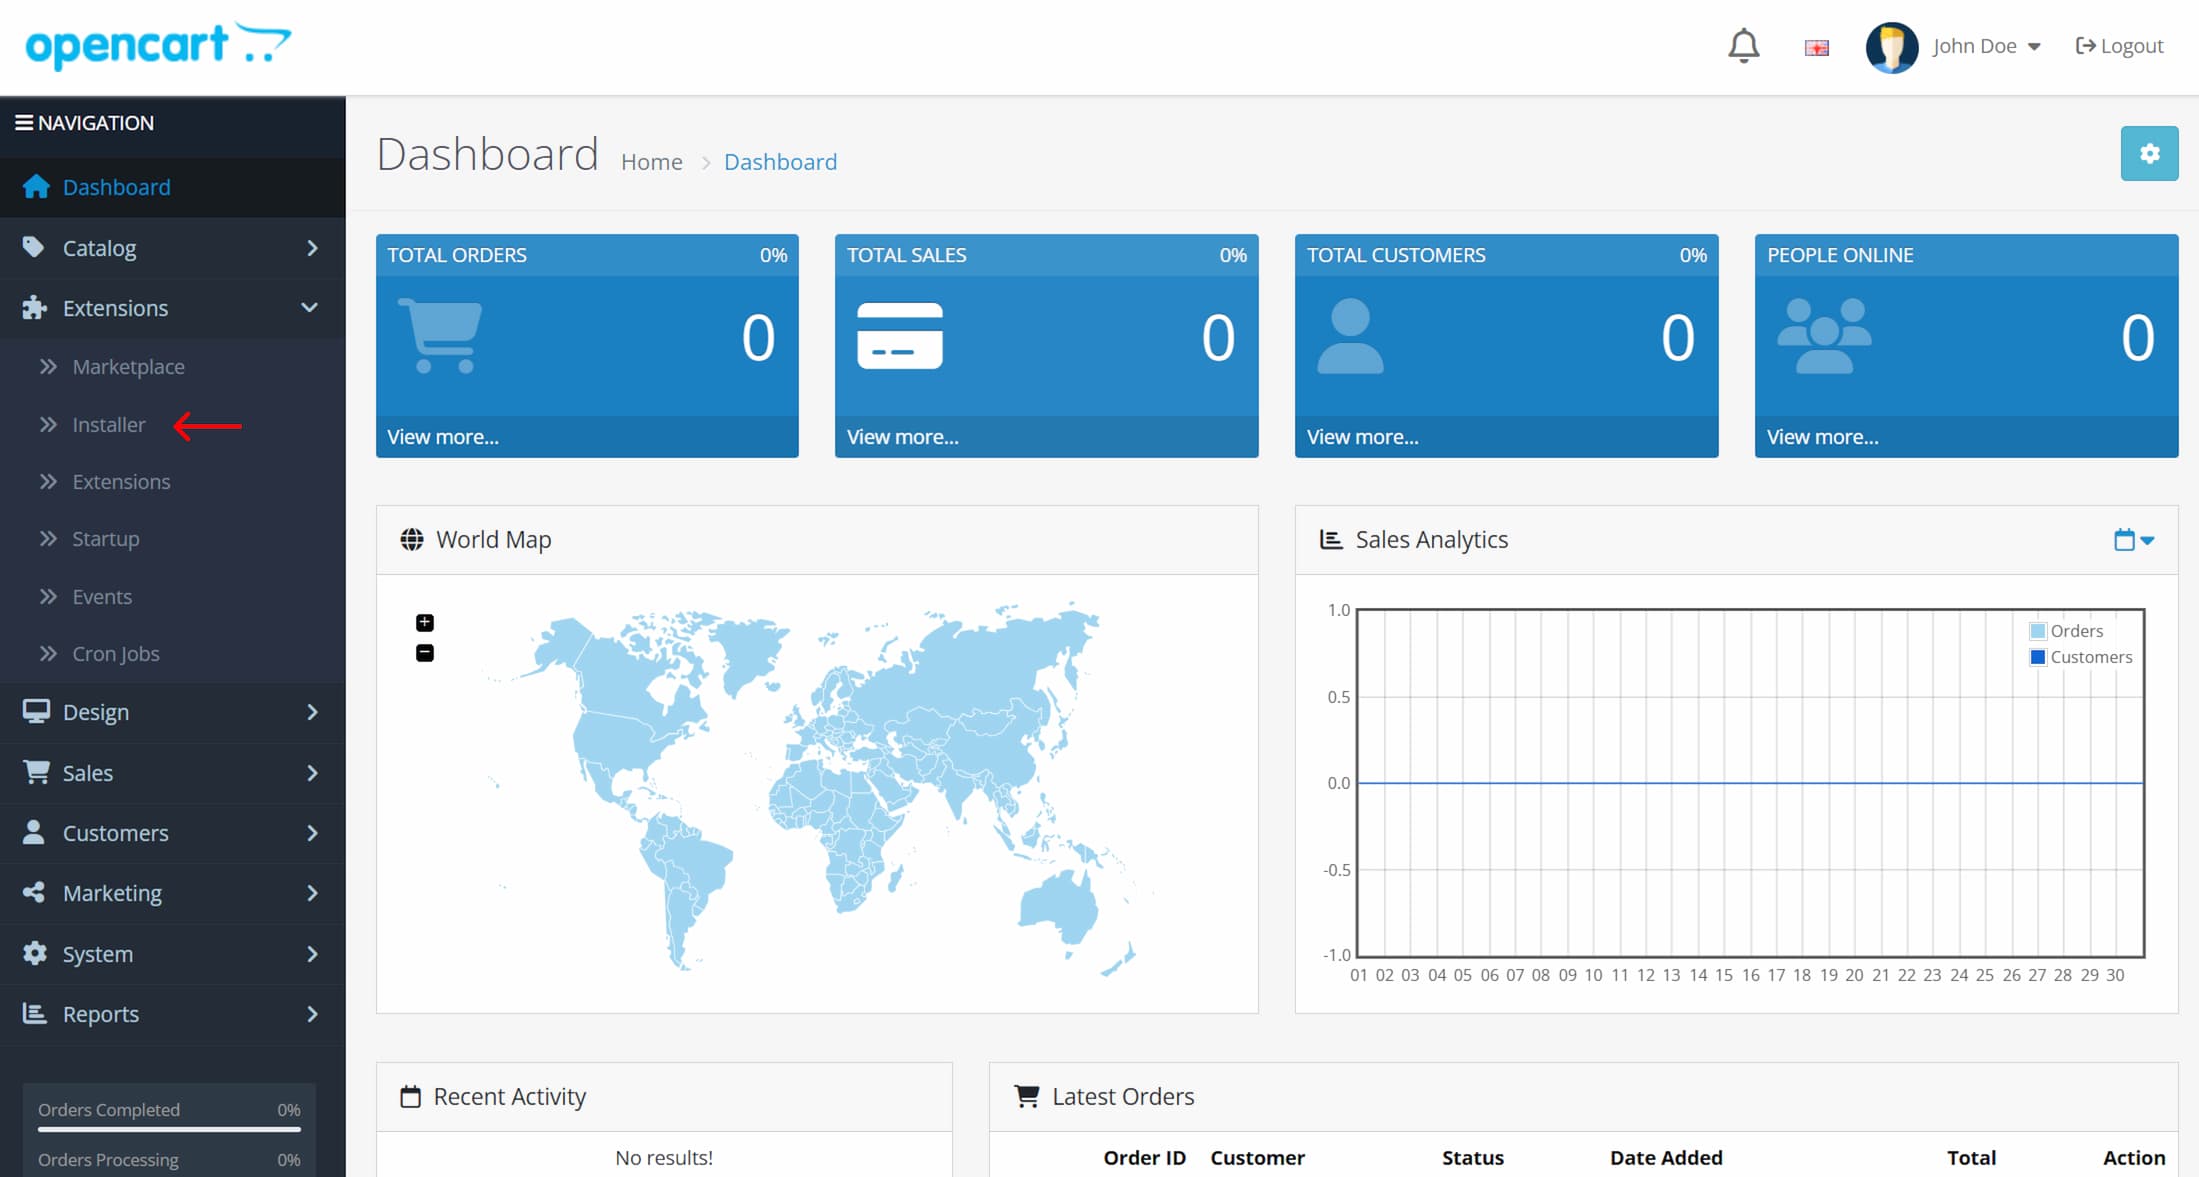
2. On the sidebar, click on Extensions > Installer
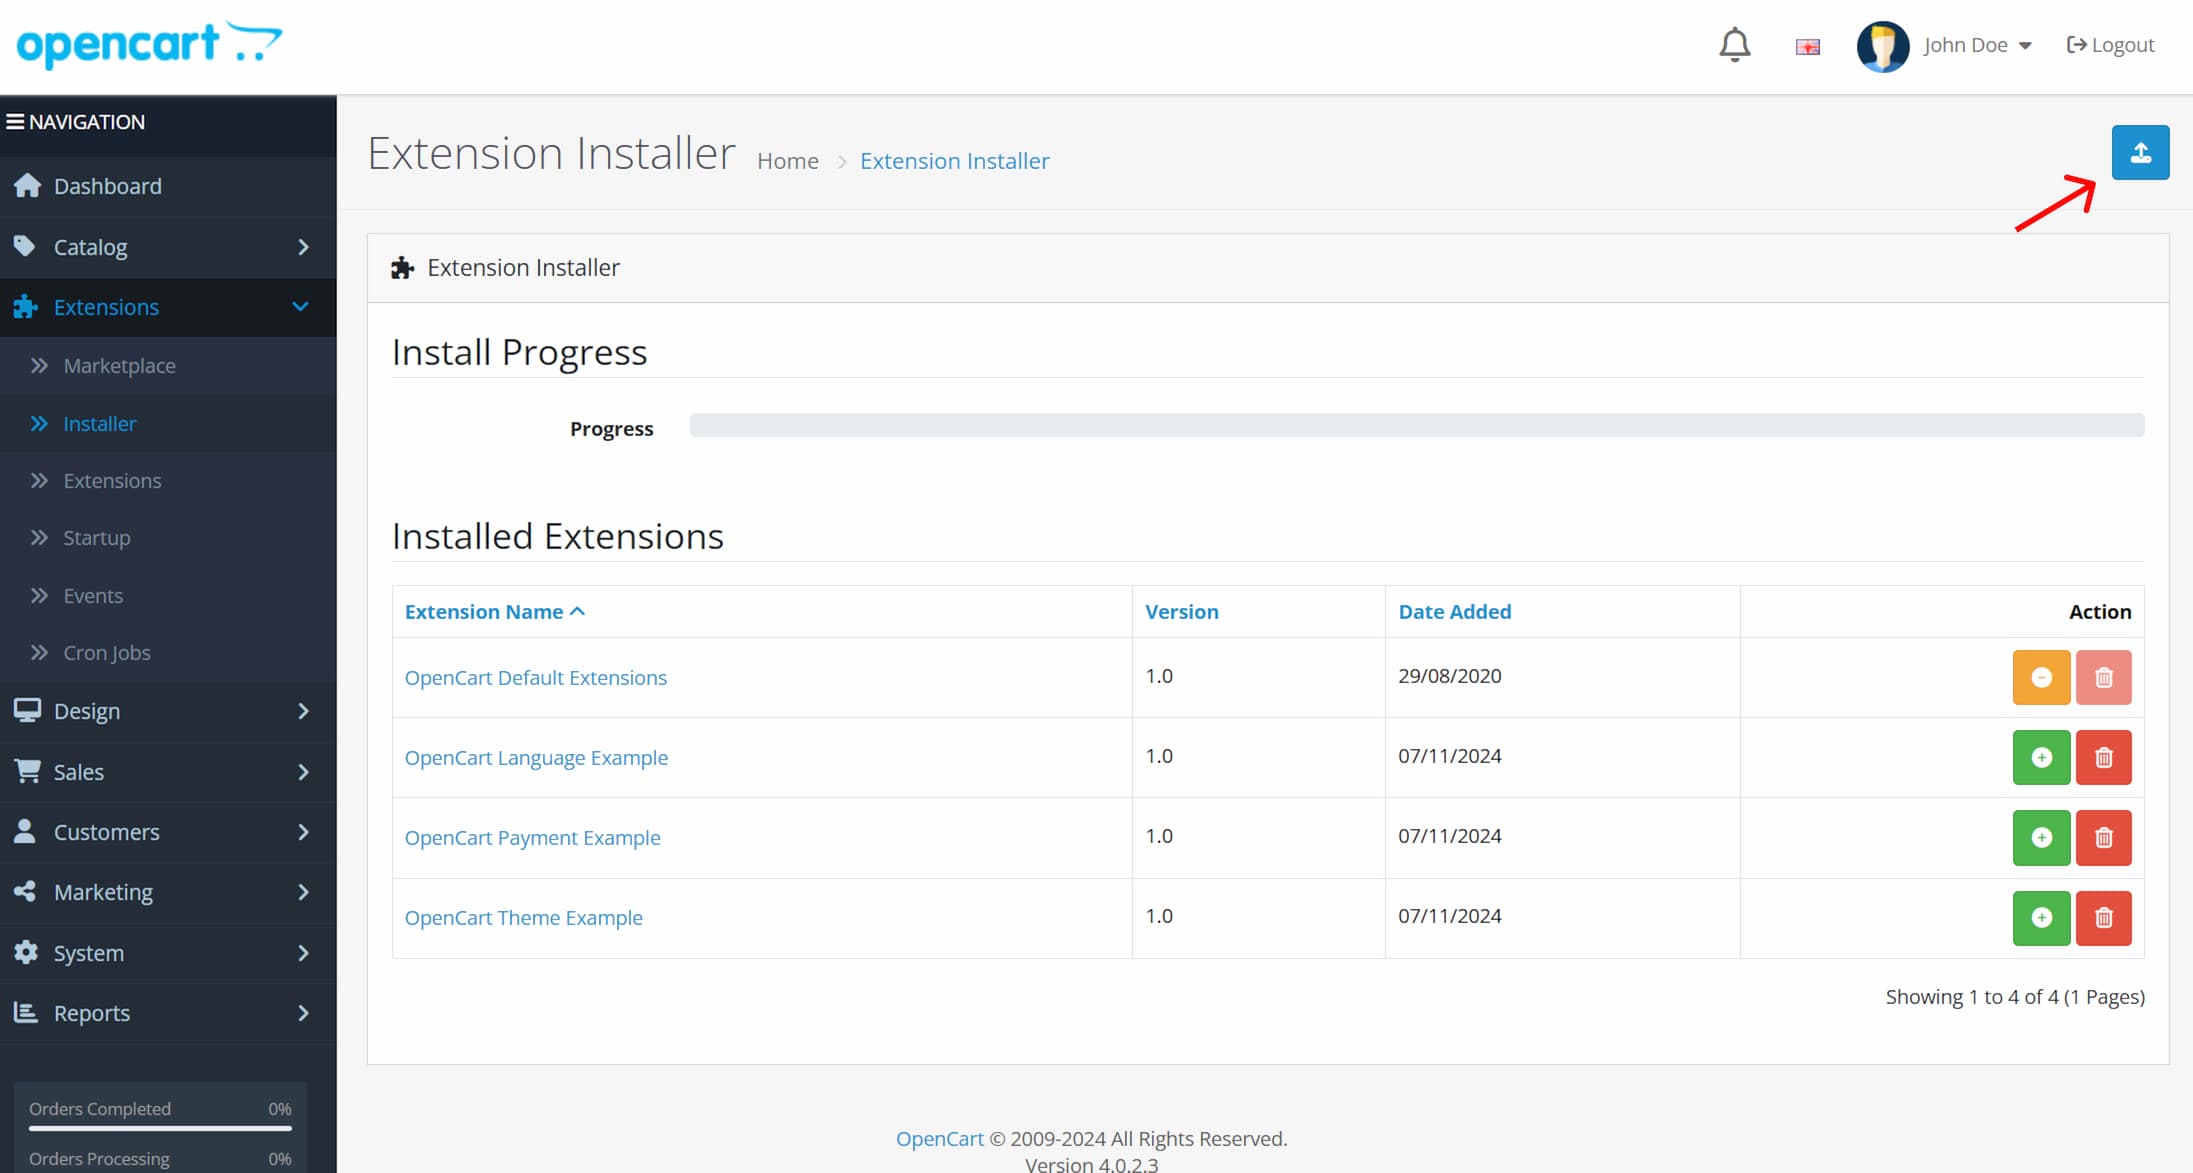
3. On the extension installer, click on the file upload icon
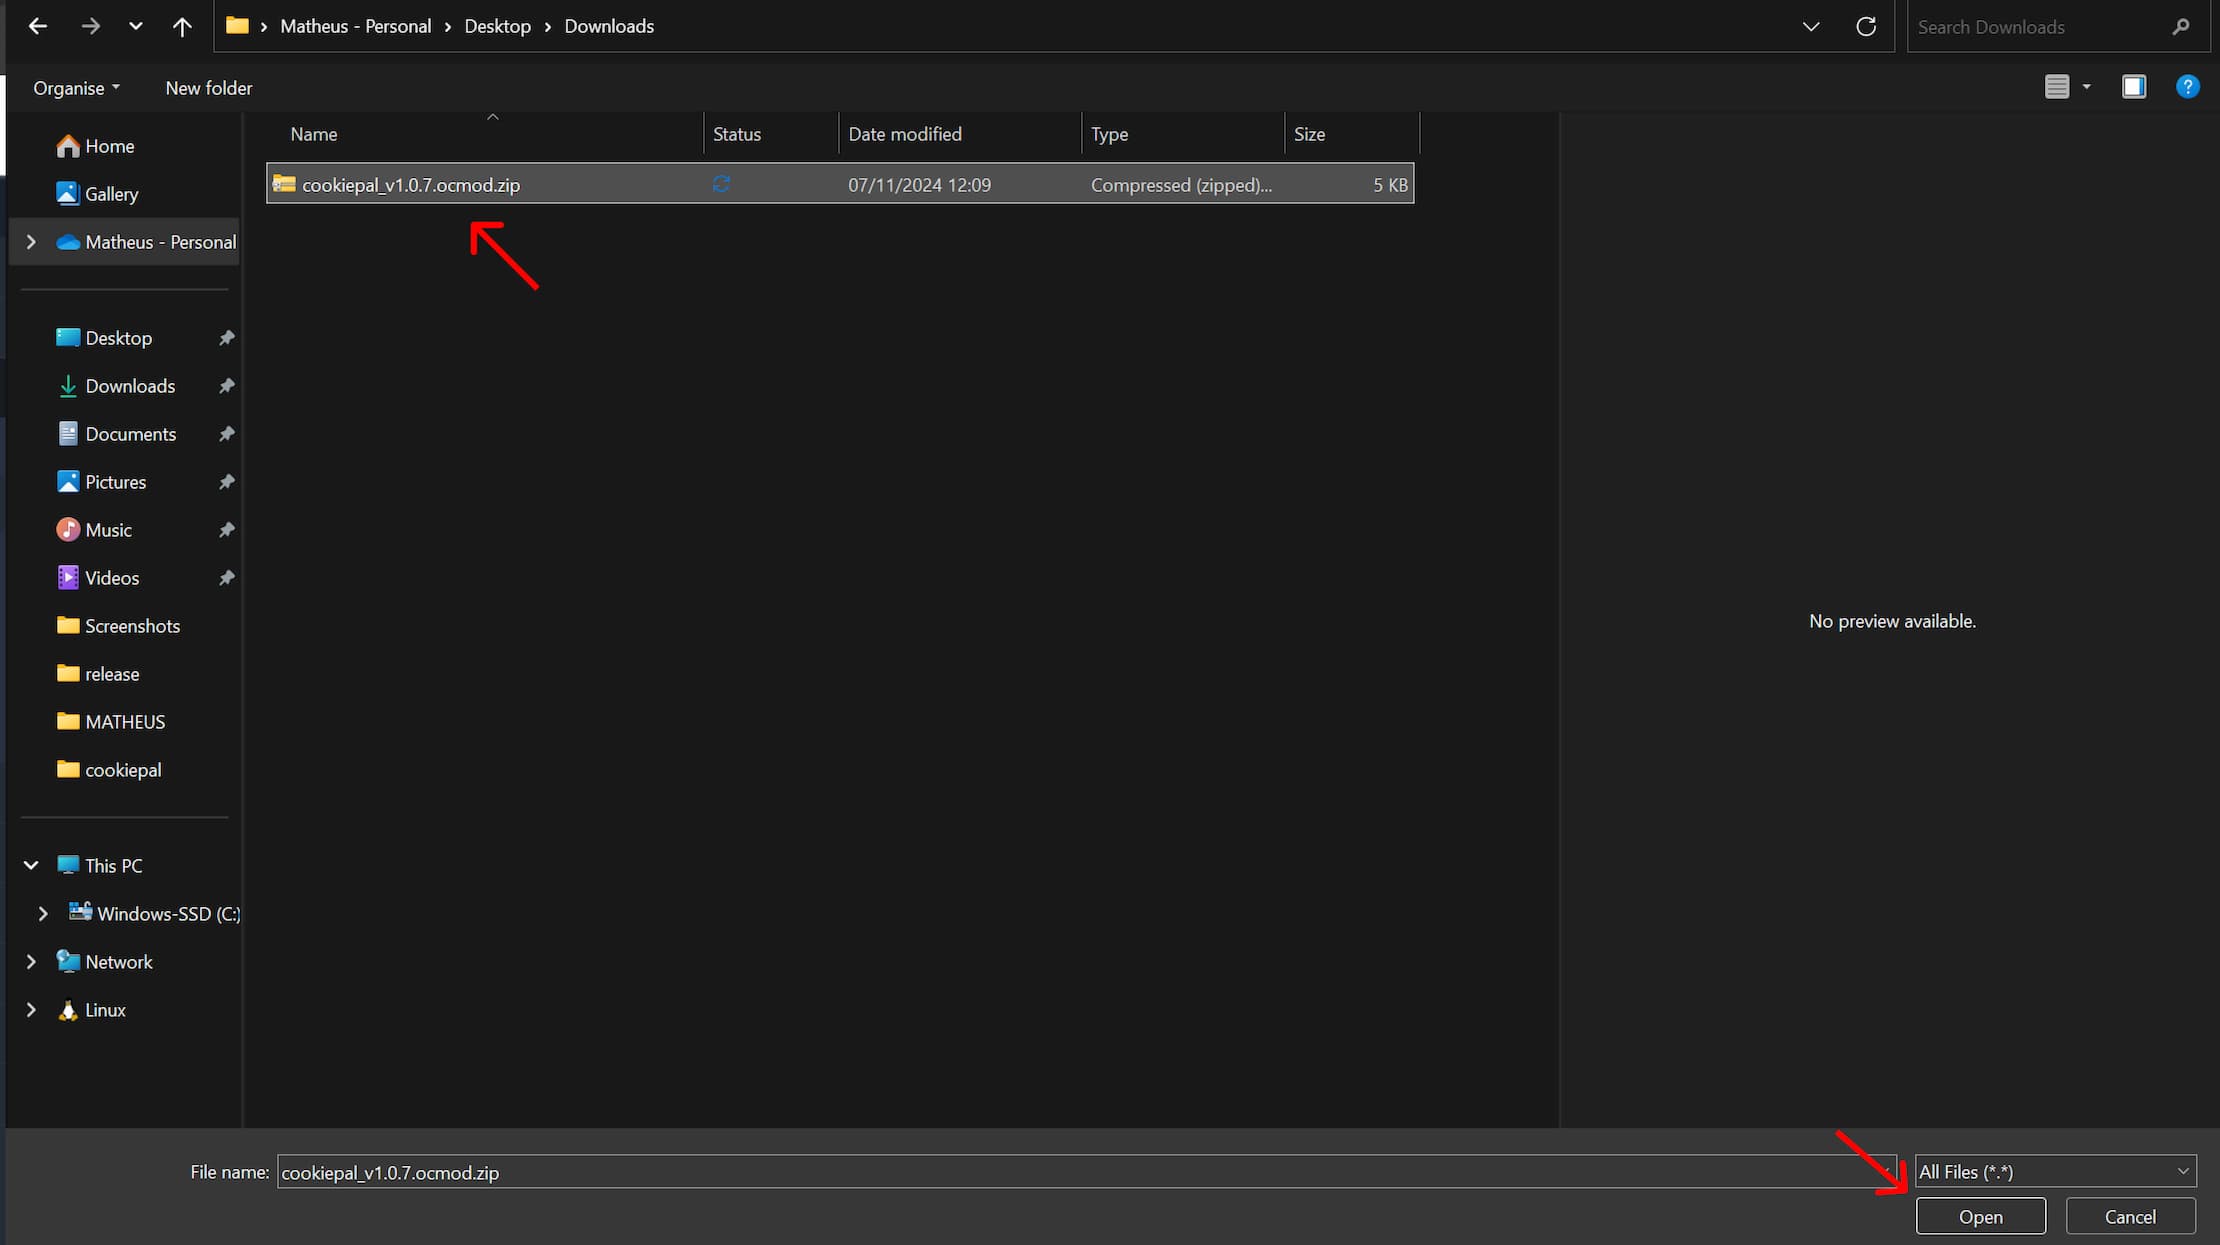
4. Select the .zip file previously downloaded on CookiePal, and click 'open'
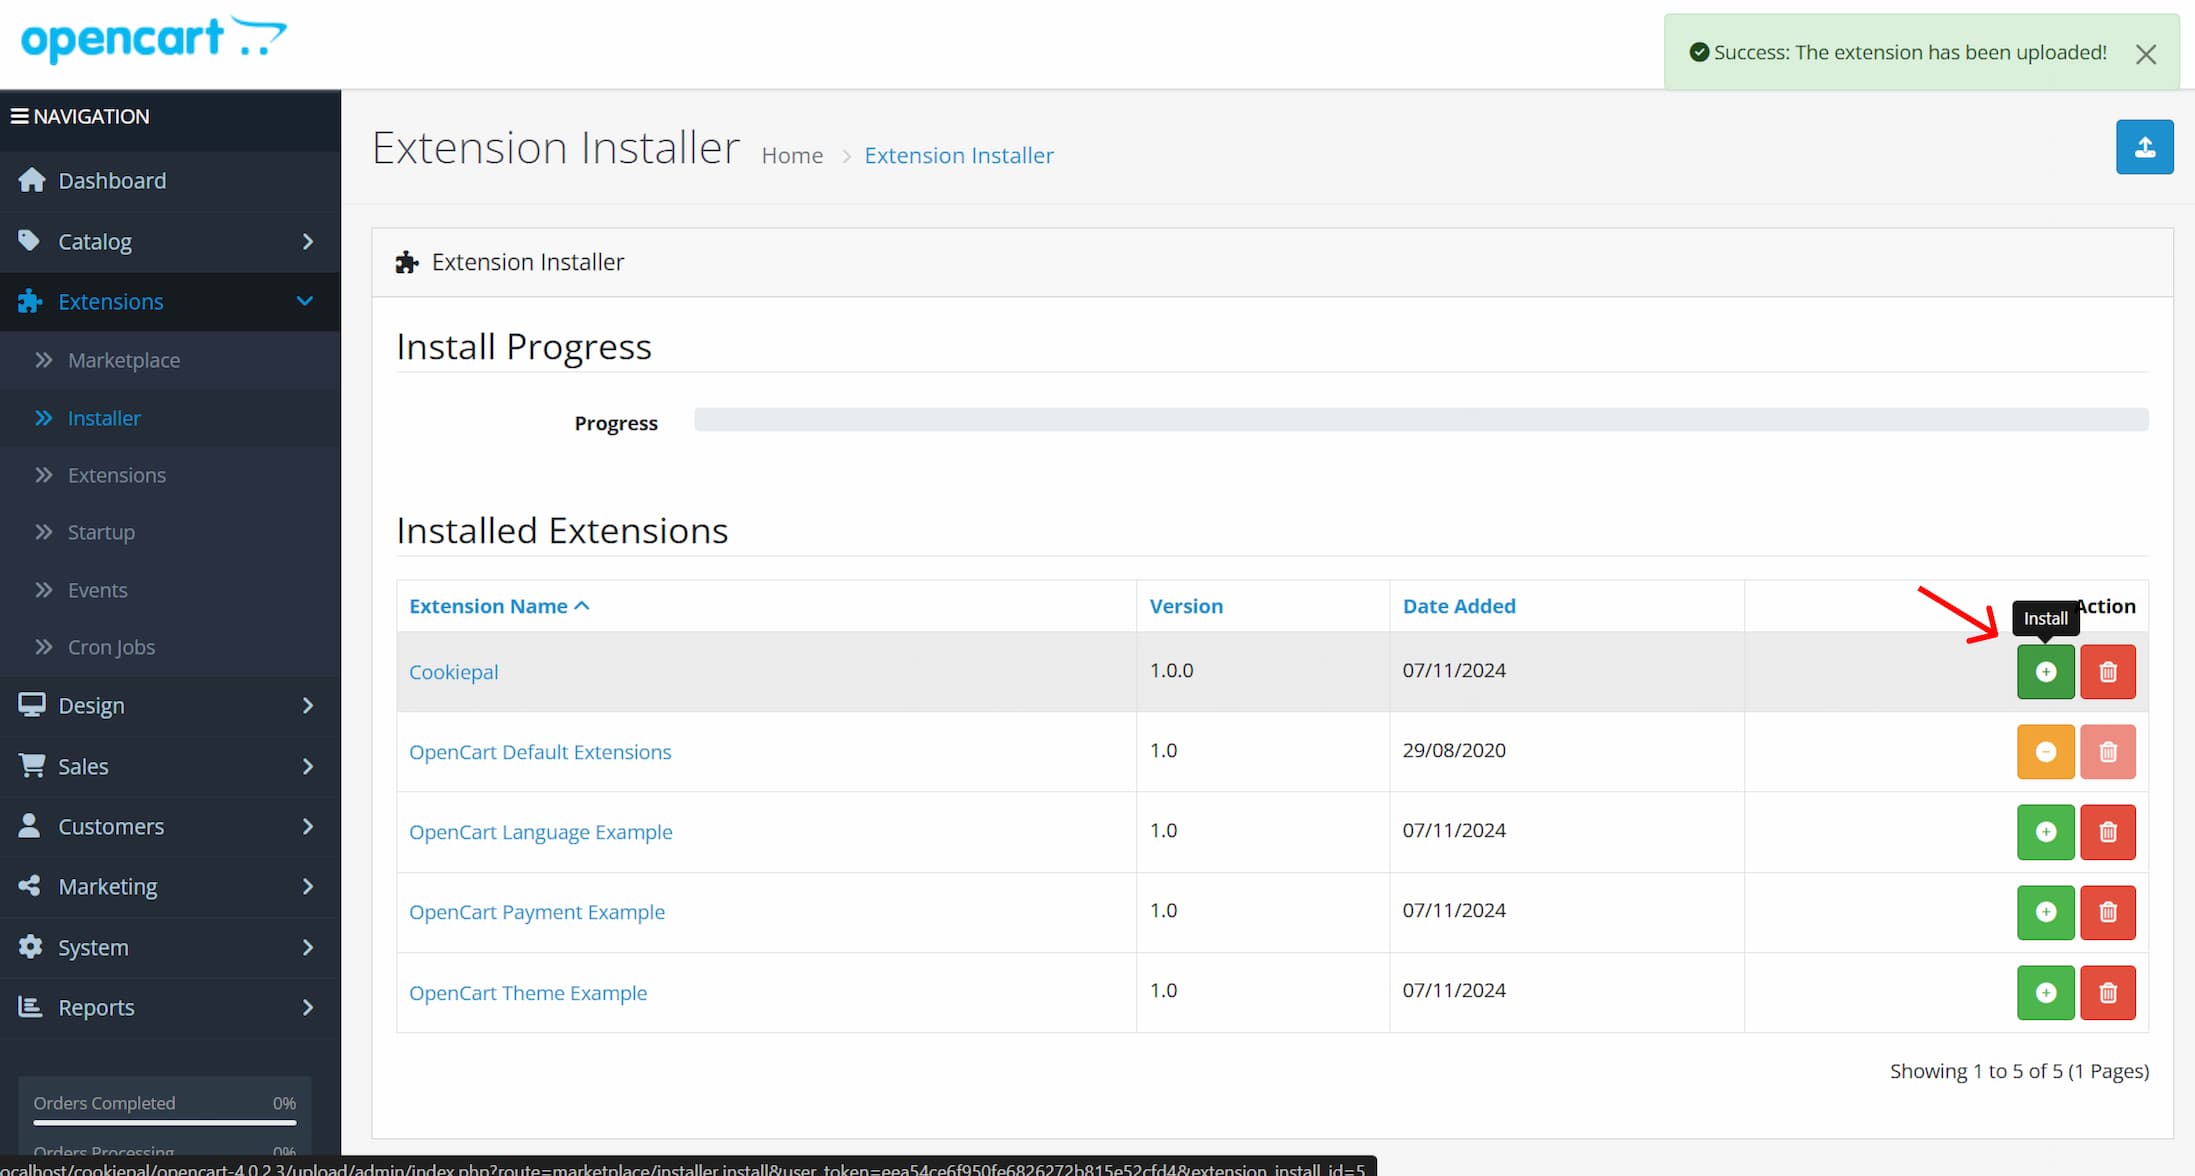
5. With the file uploaded, install the 'CookiePal' extension
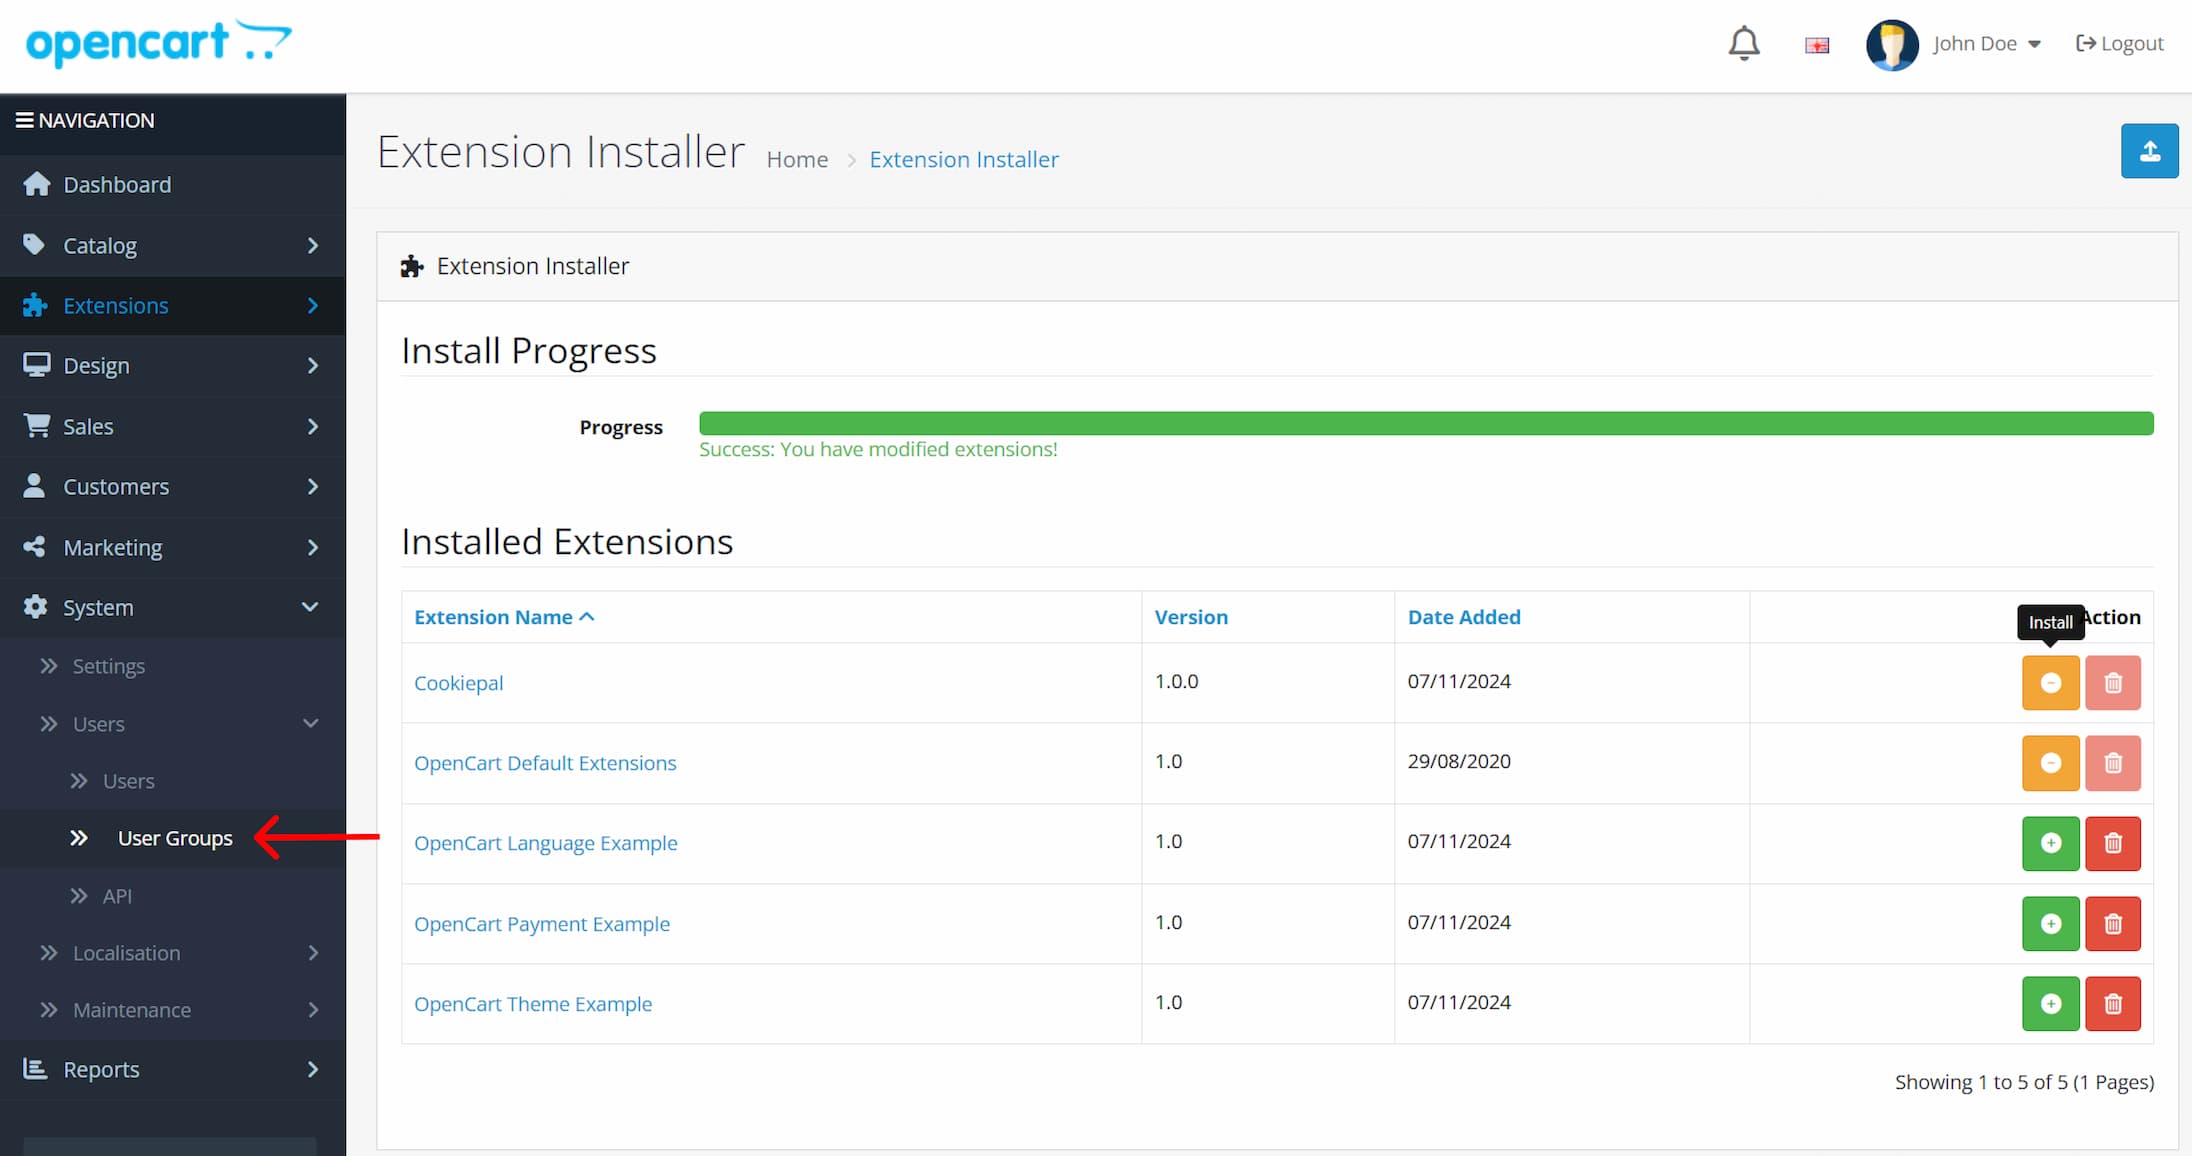
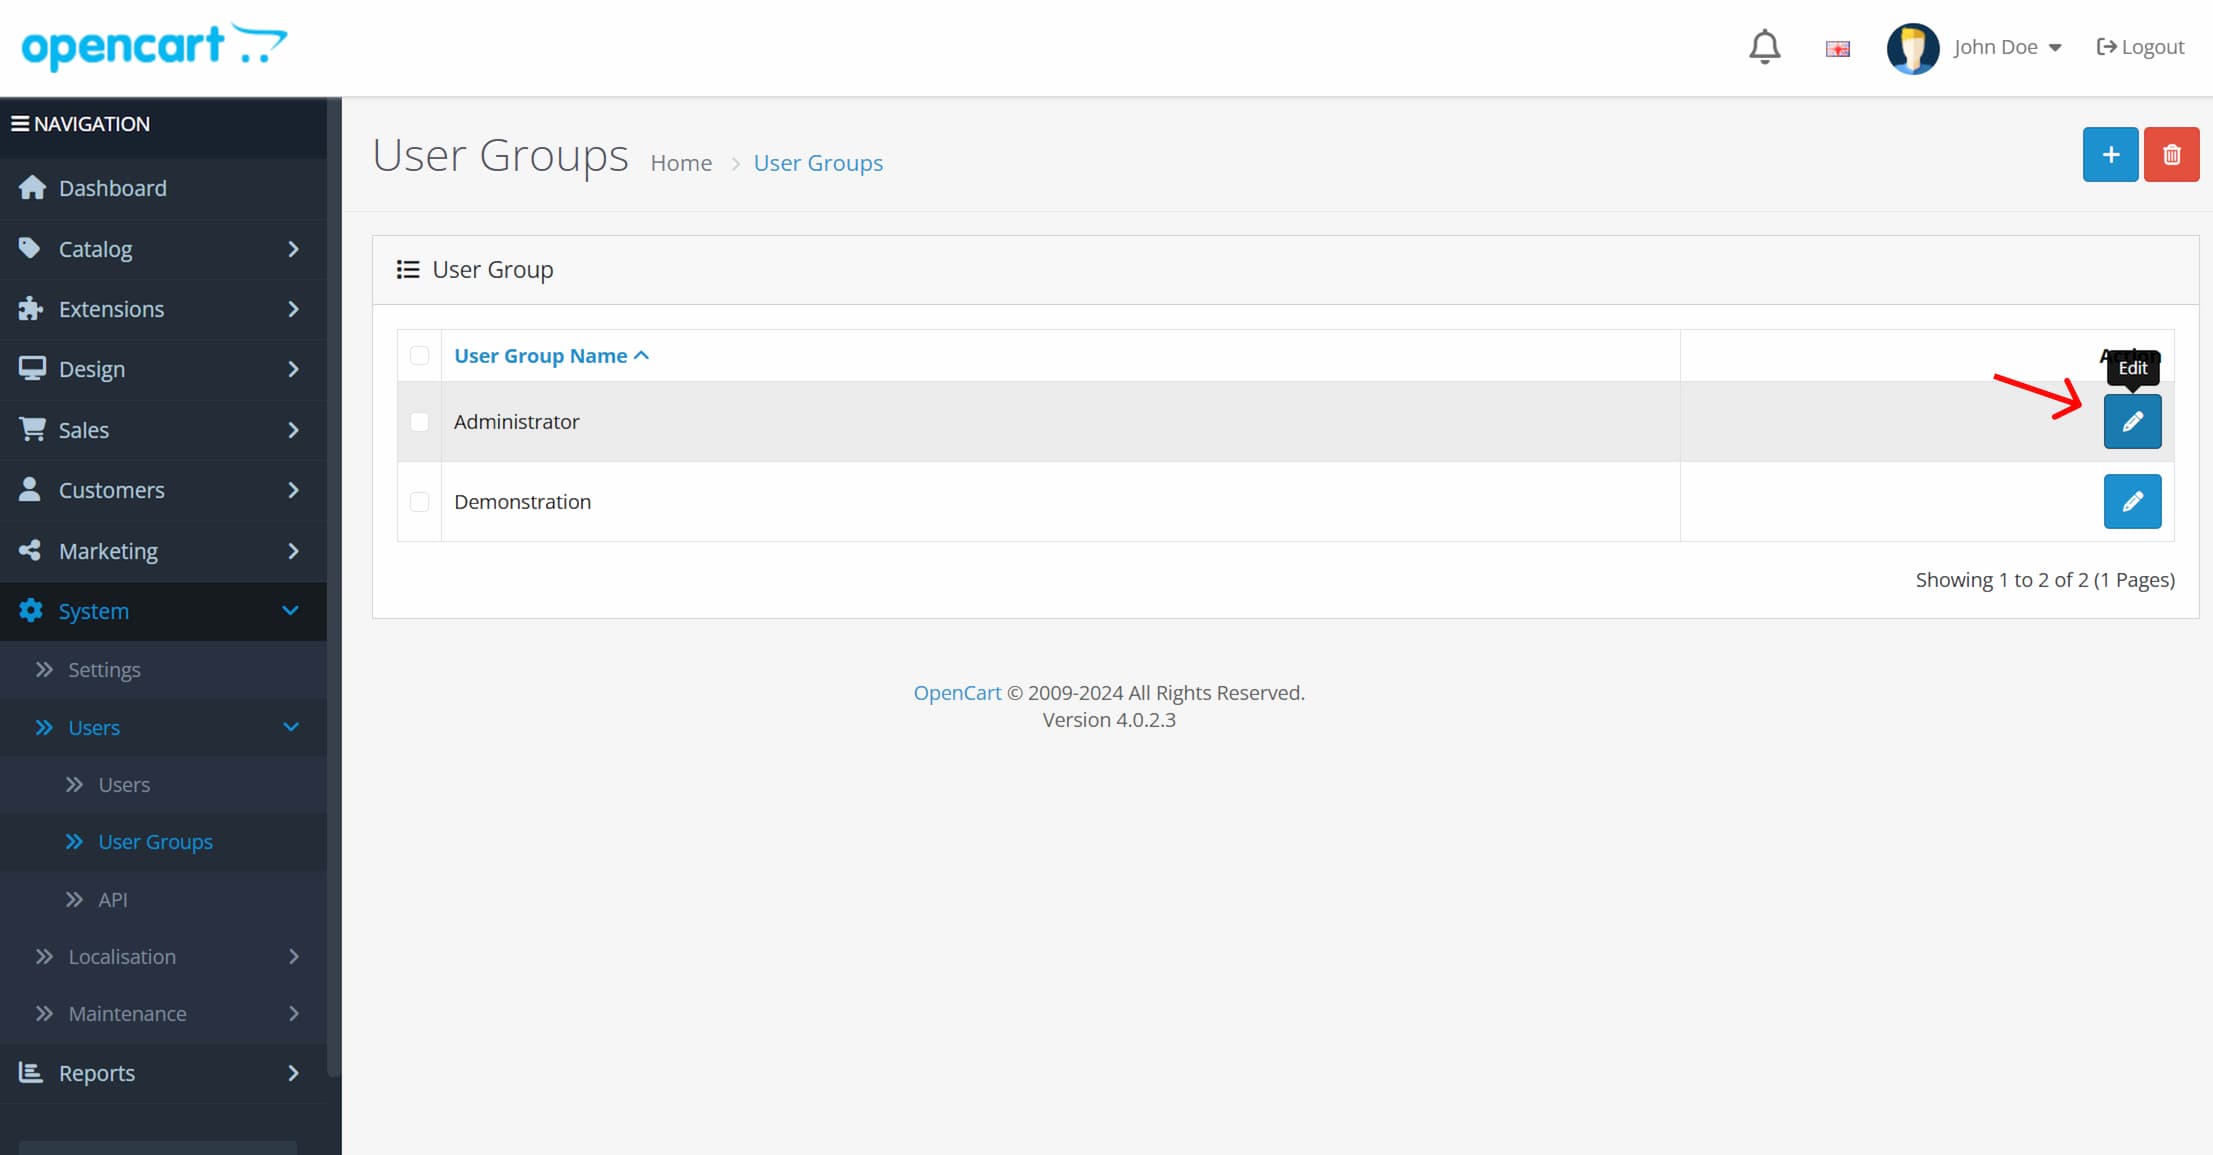
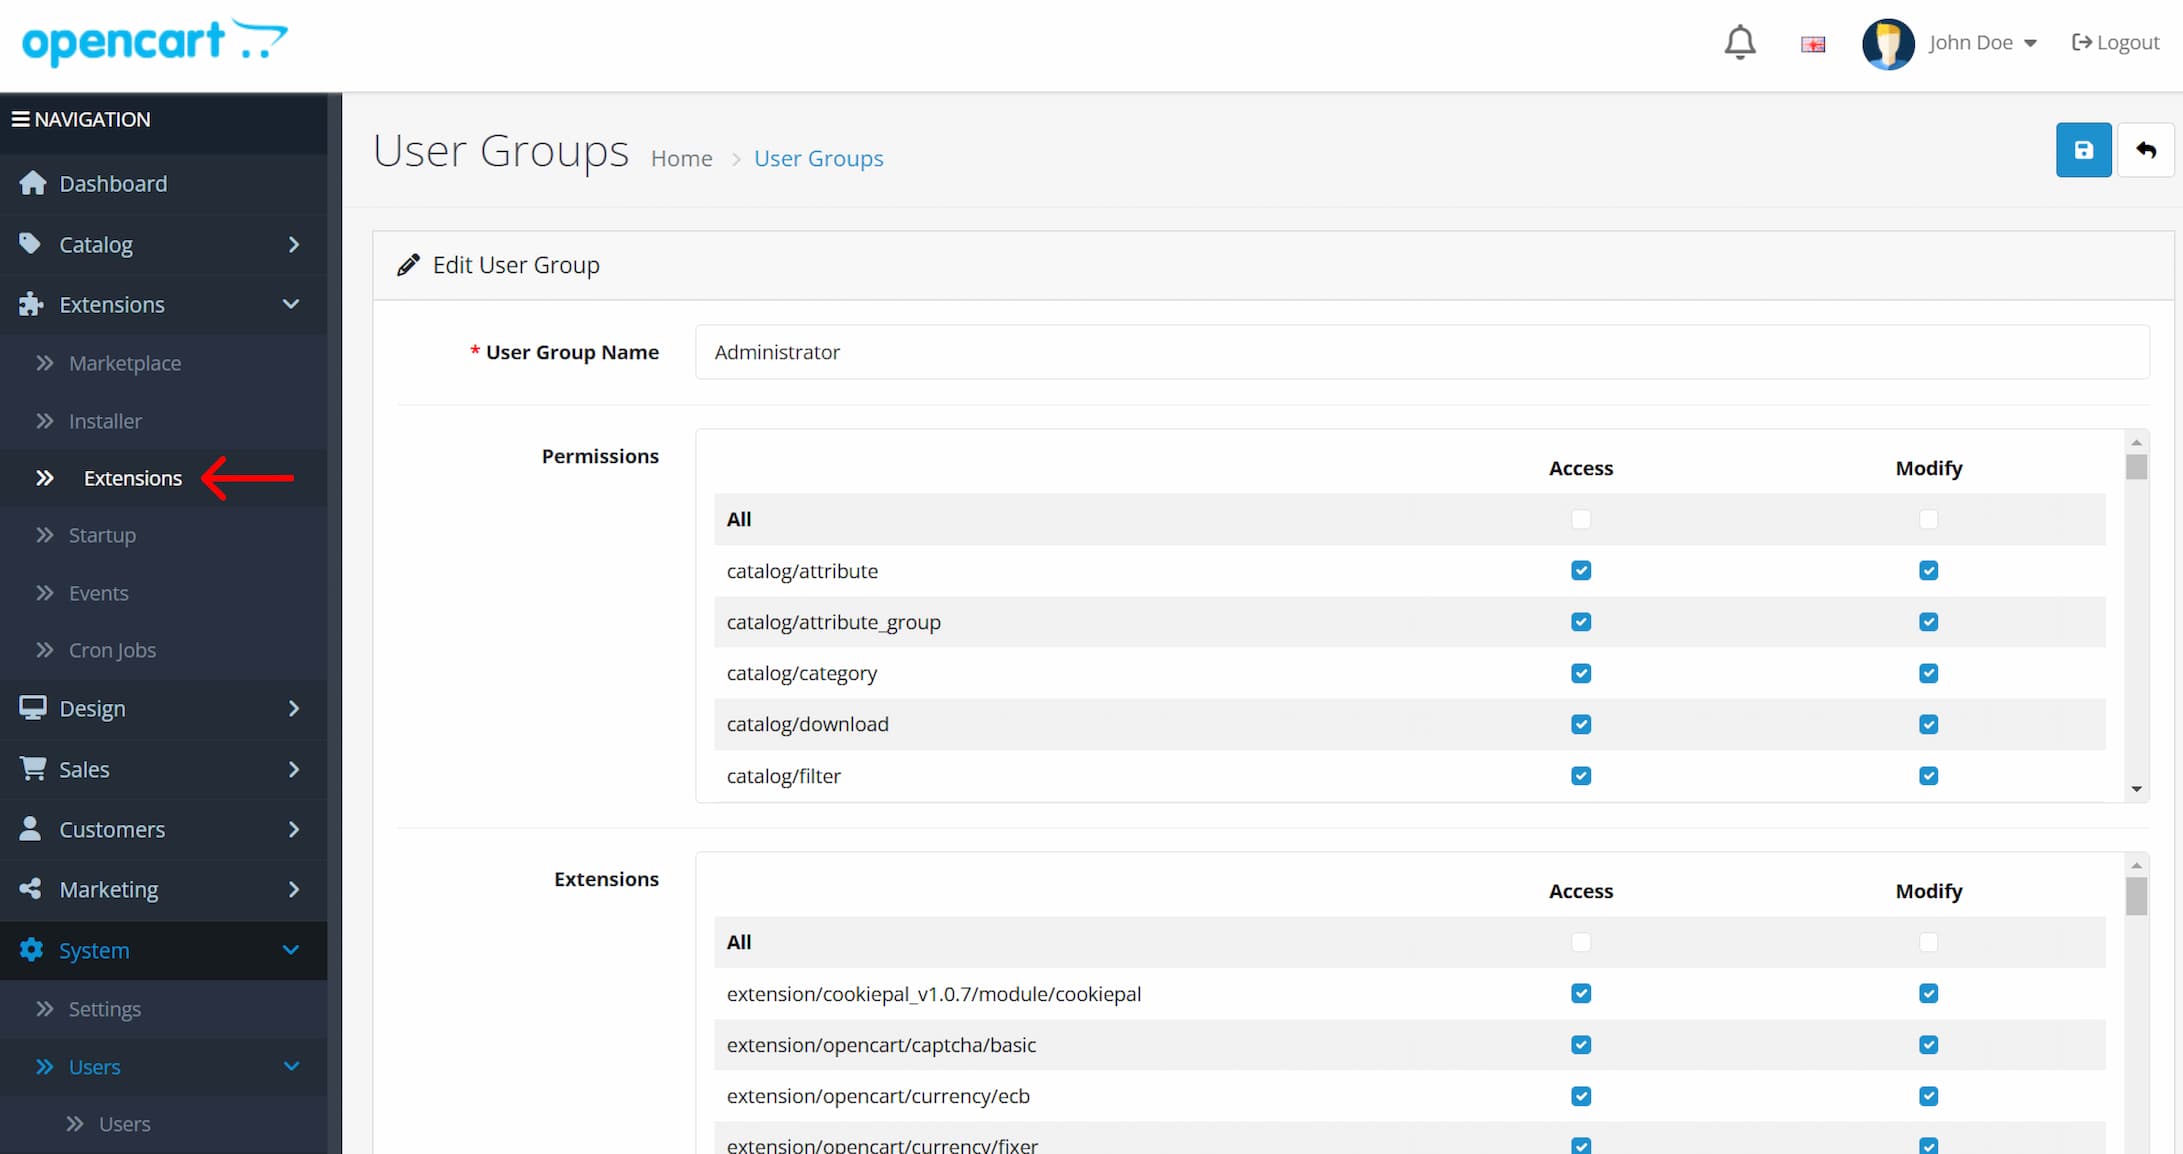
6. With the extension installed, on the sidebar, click on System > Users > User Groups
7. Click on the icon to edit the 'Administrator' User Group
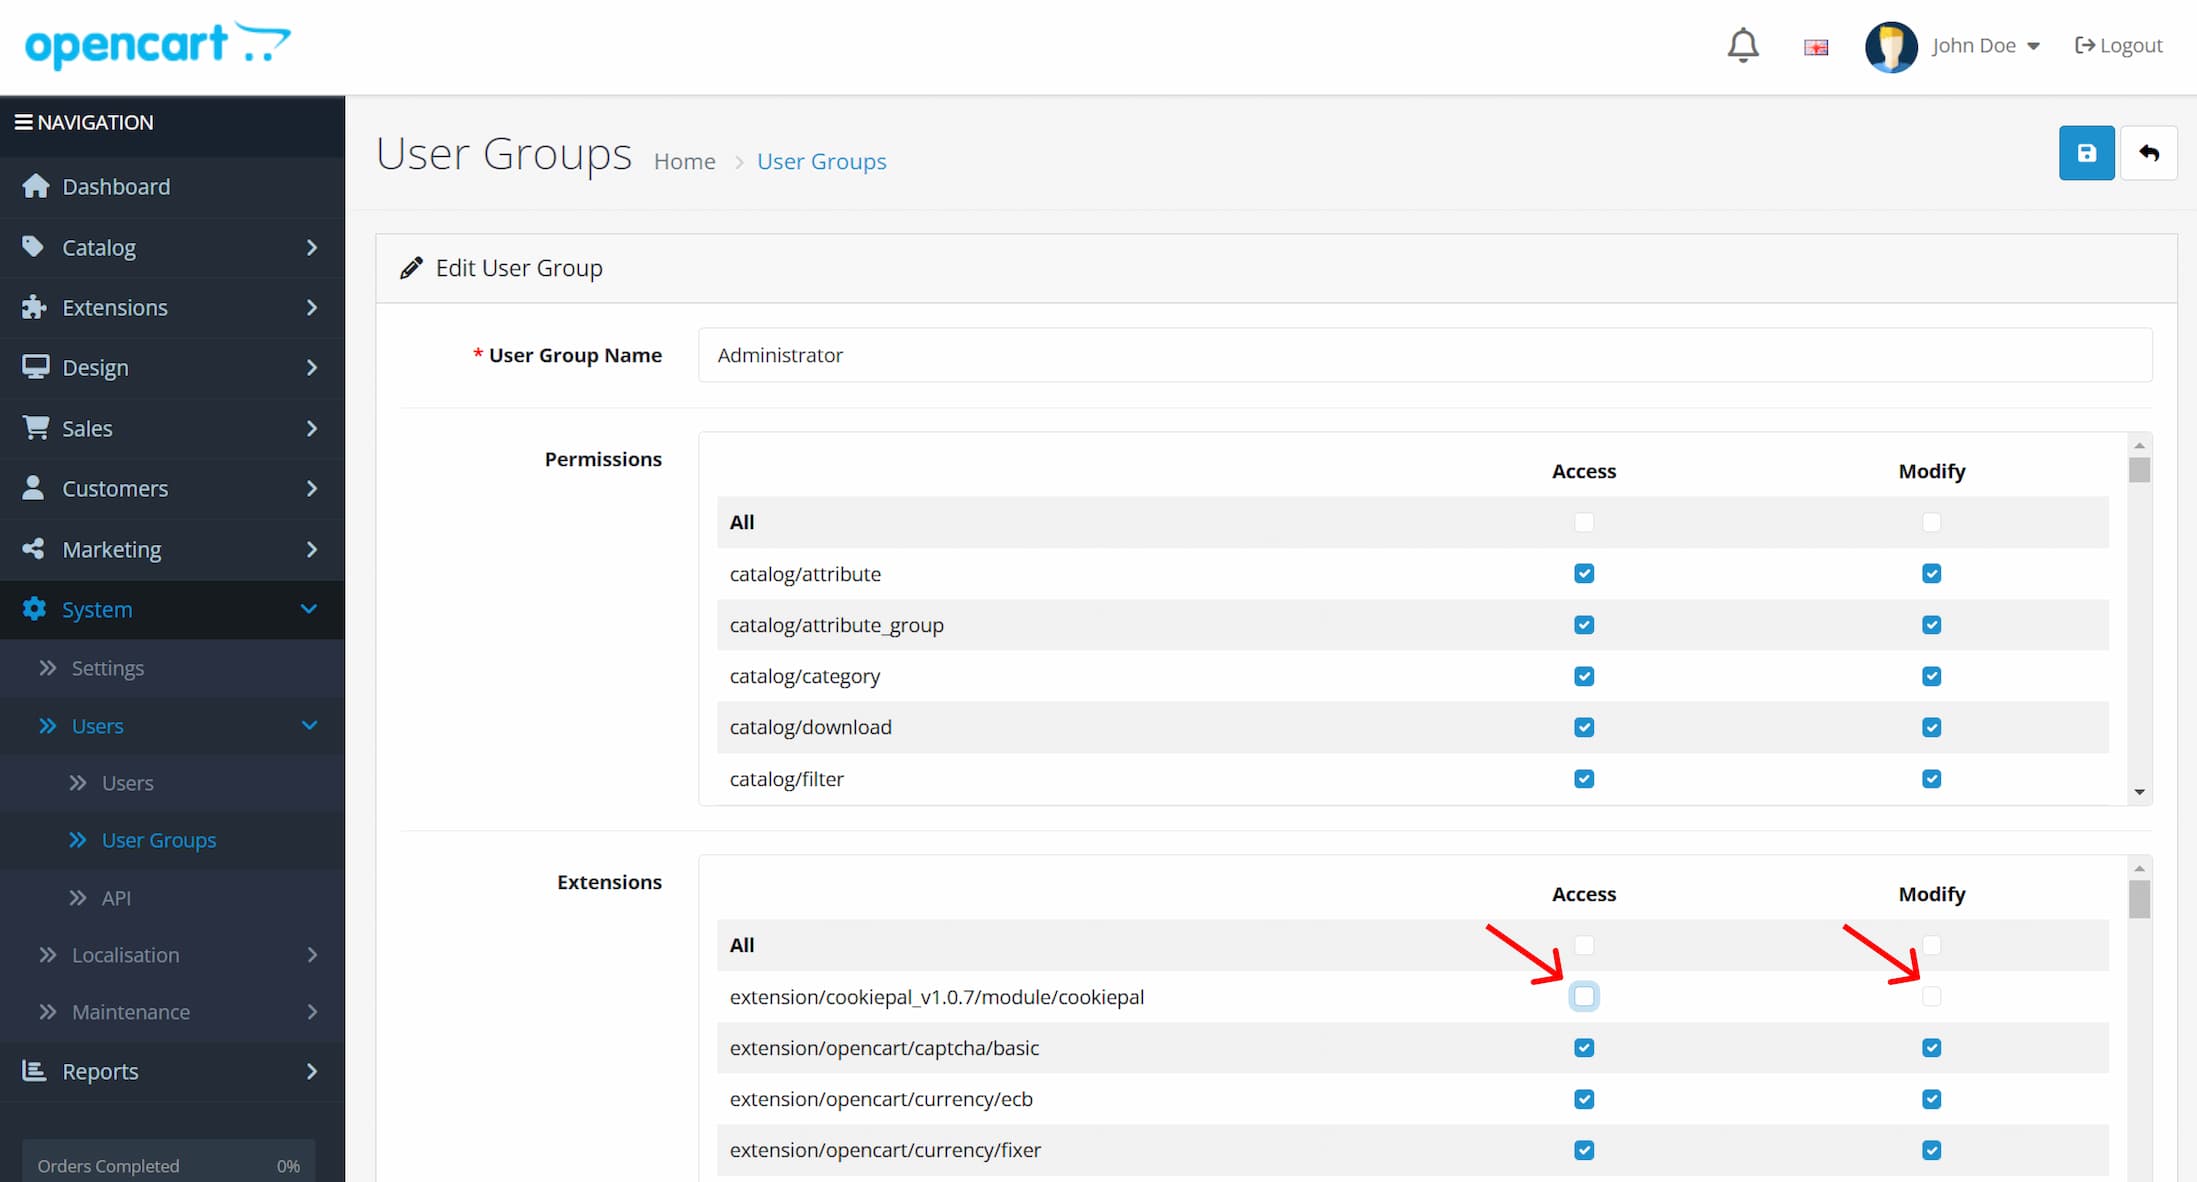
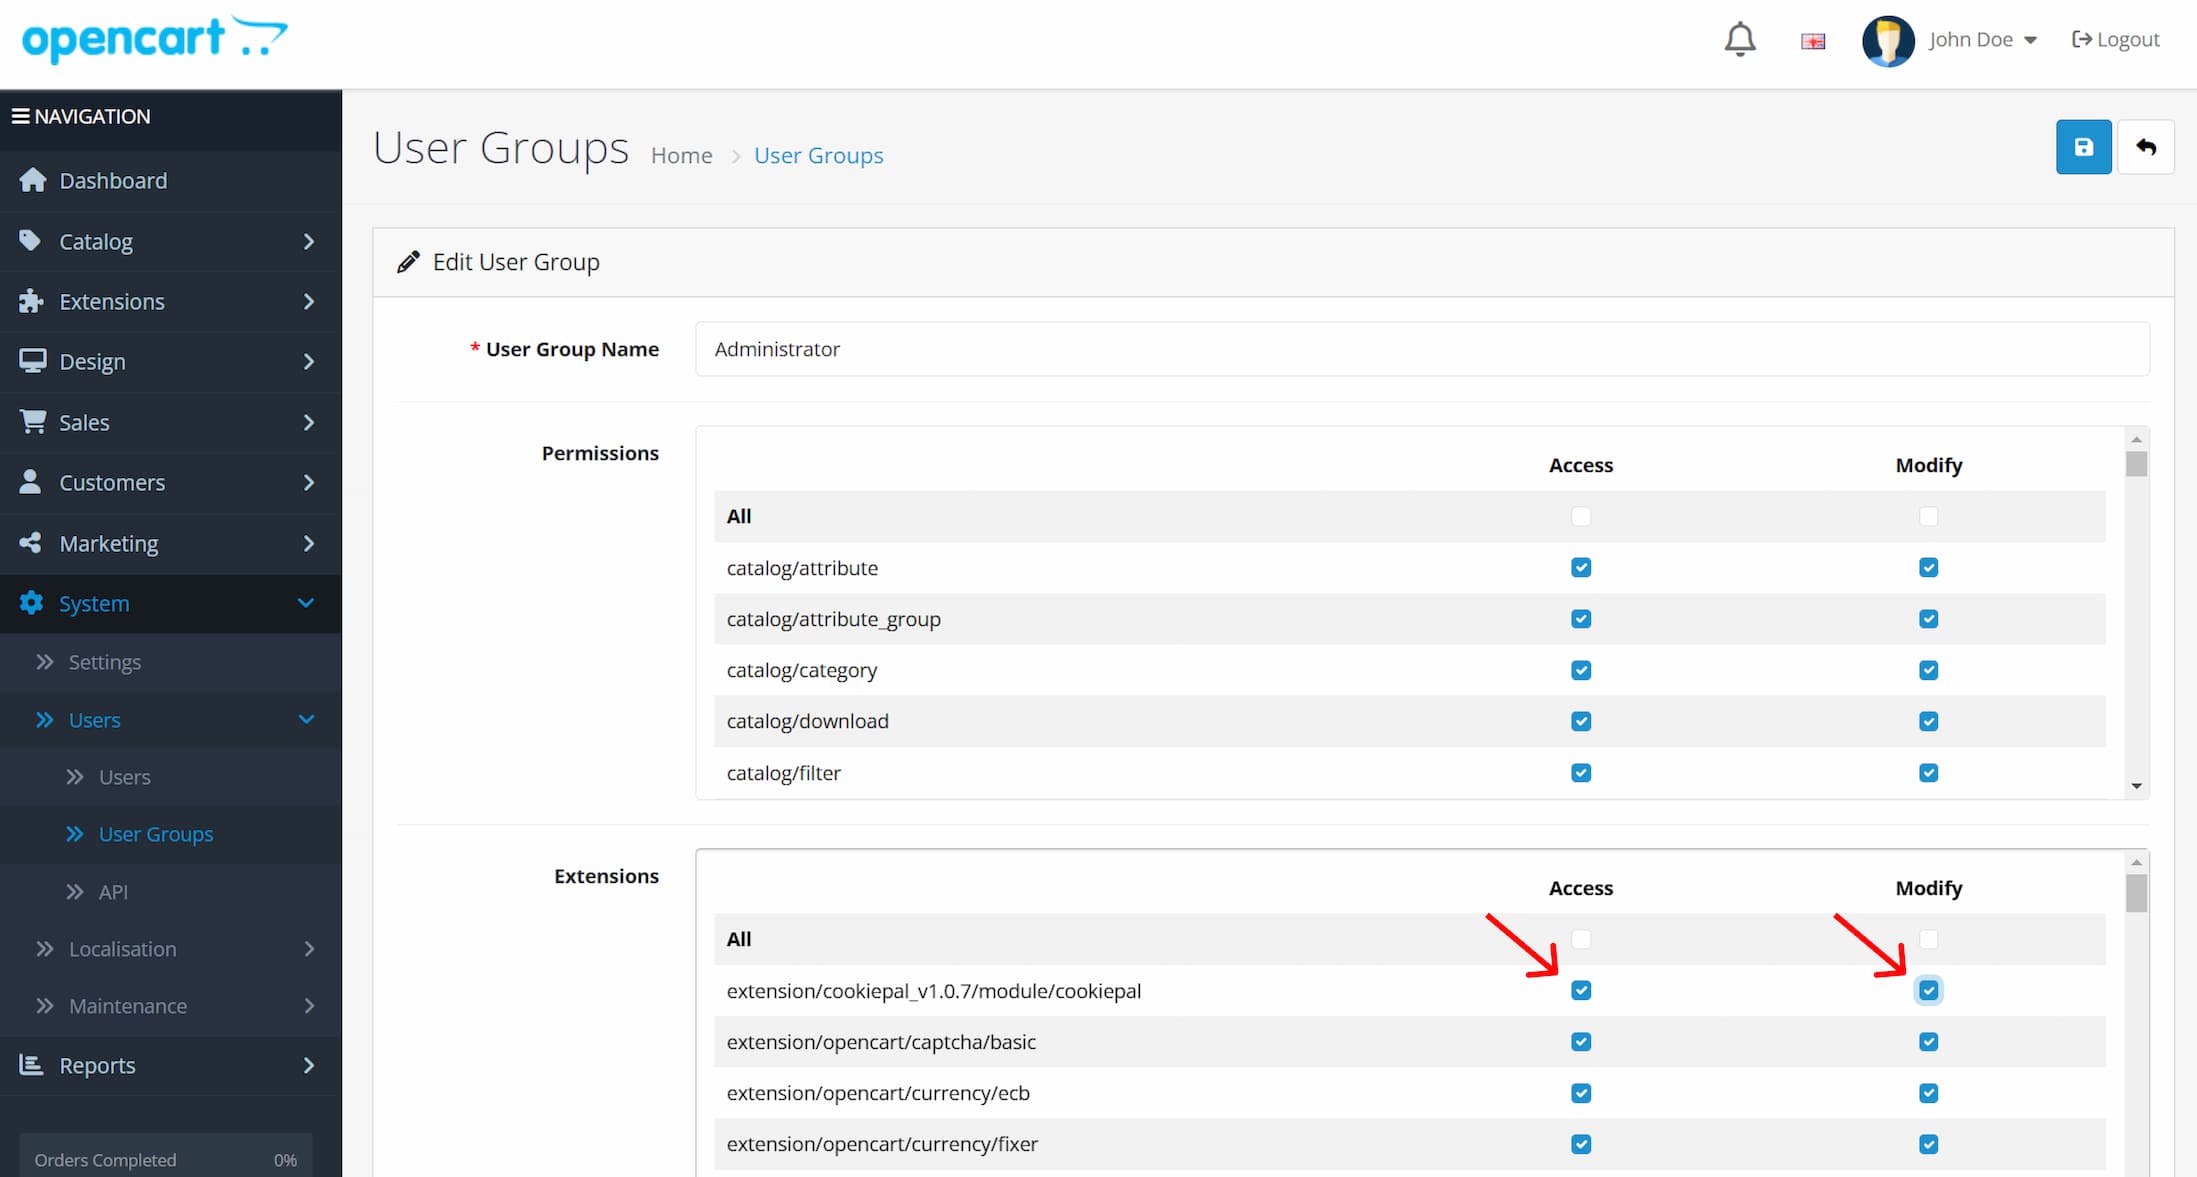
8. Update the CookiePal extension permissions
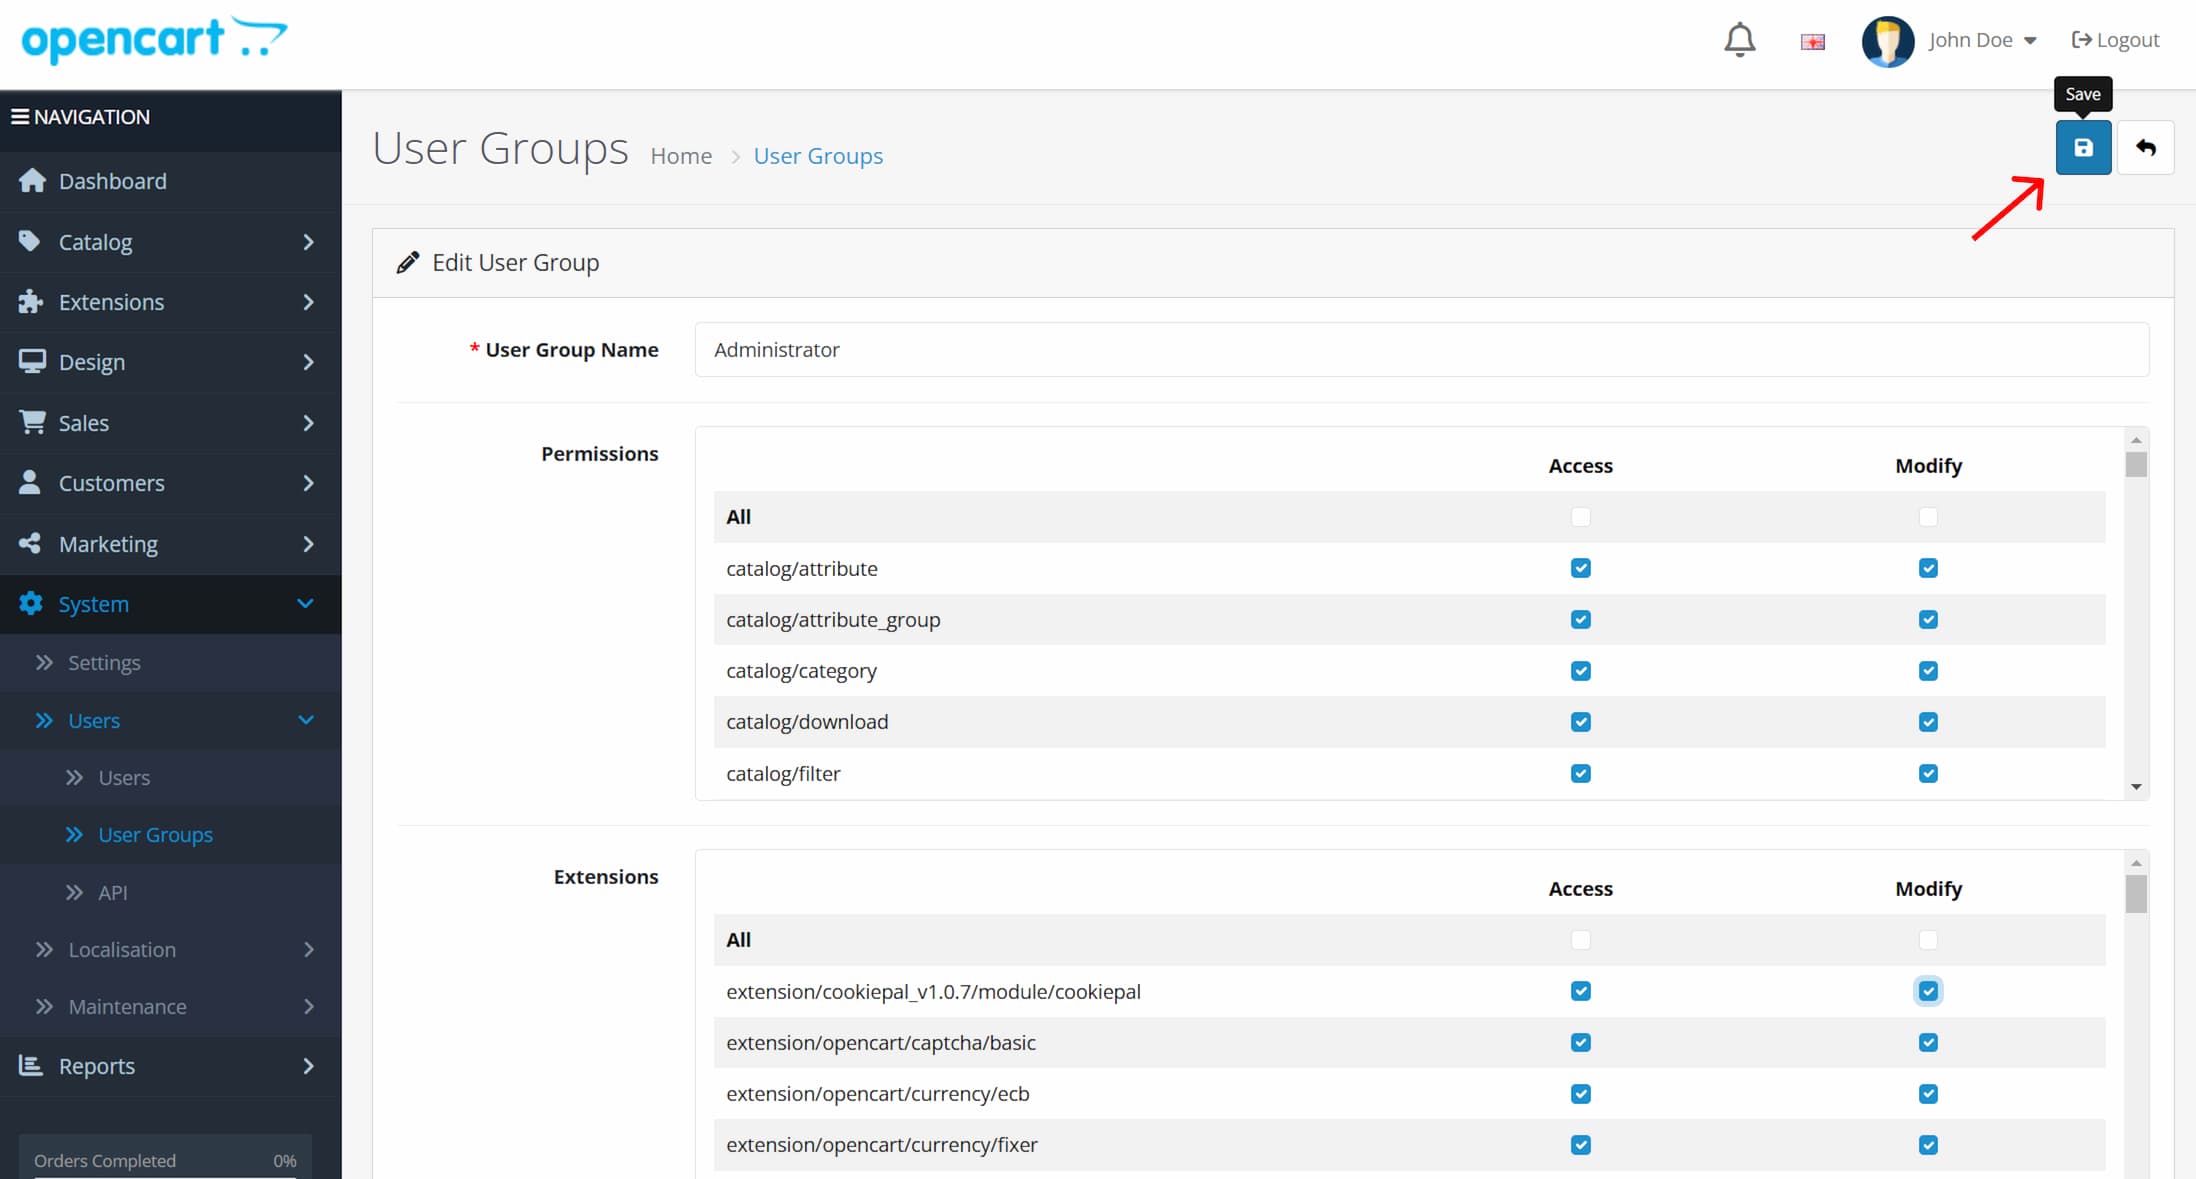
9. Click on the save icon
10. With the changes saved, go to Extensions > Extensions
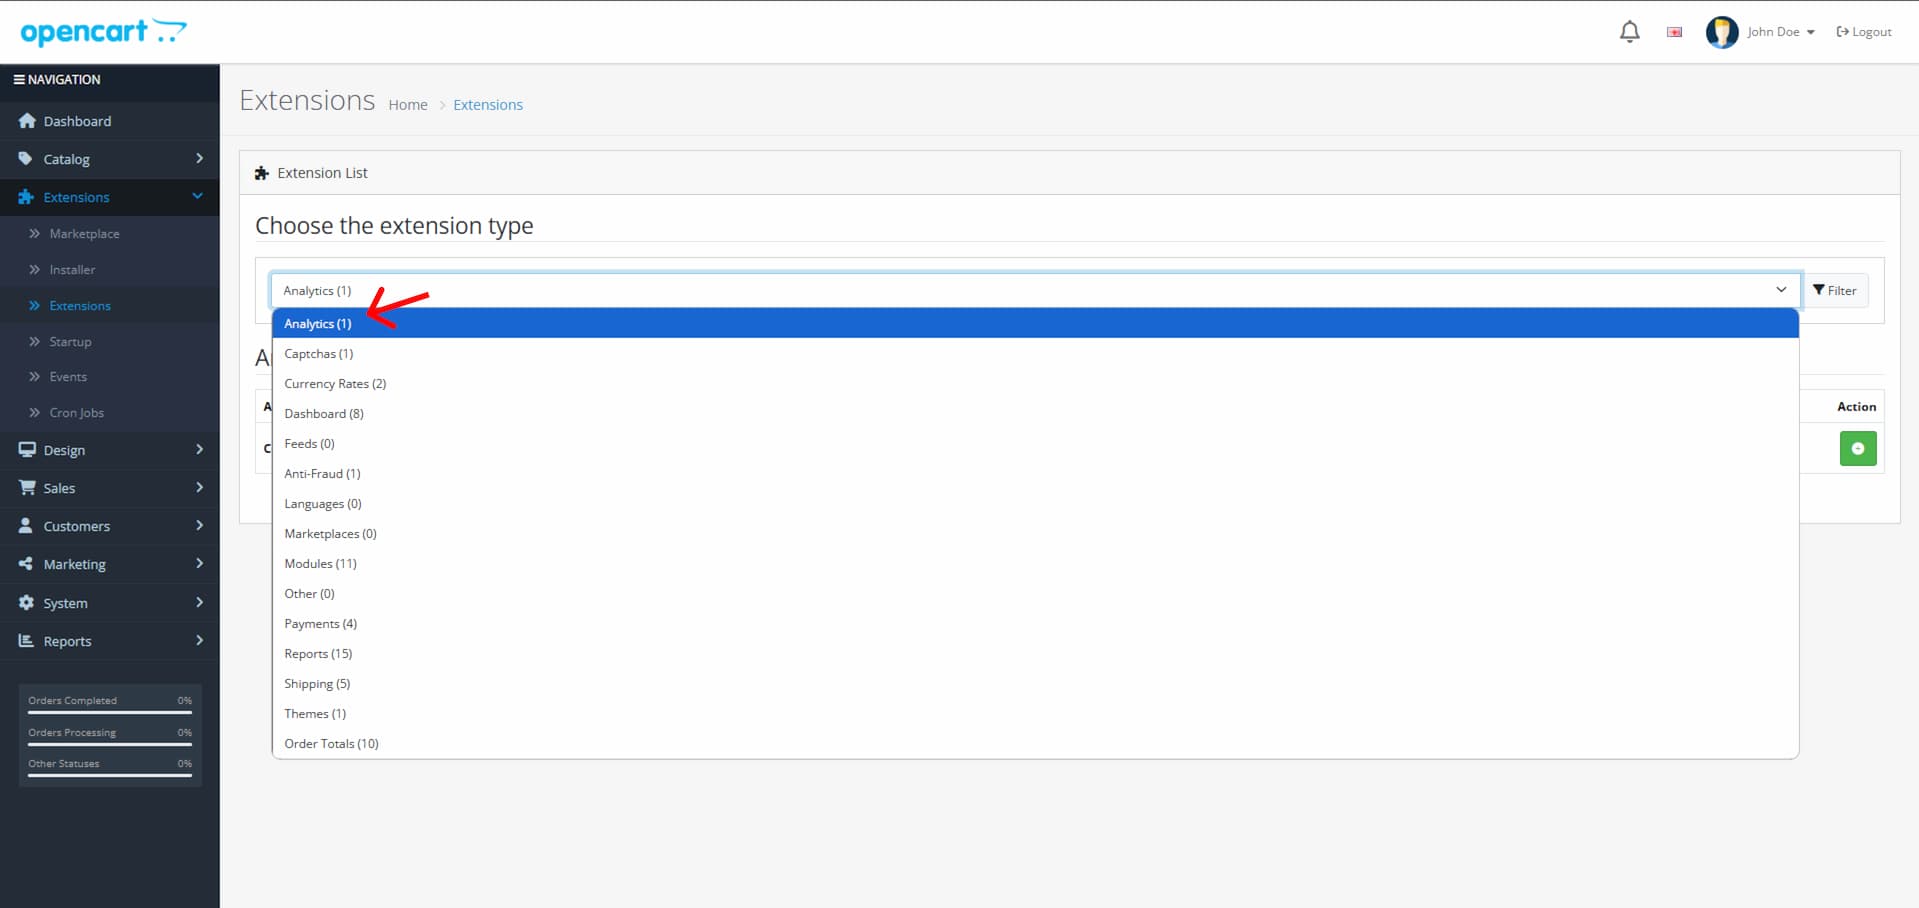
11. On the extensions page, open the extension type dropdown, and select 'analytics'
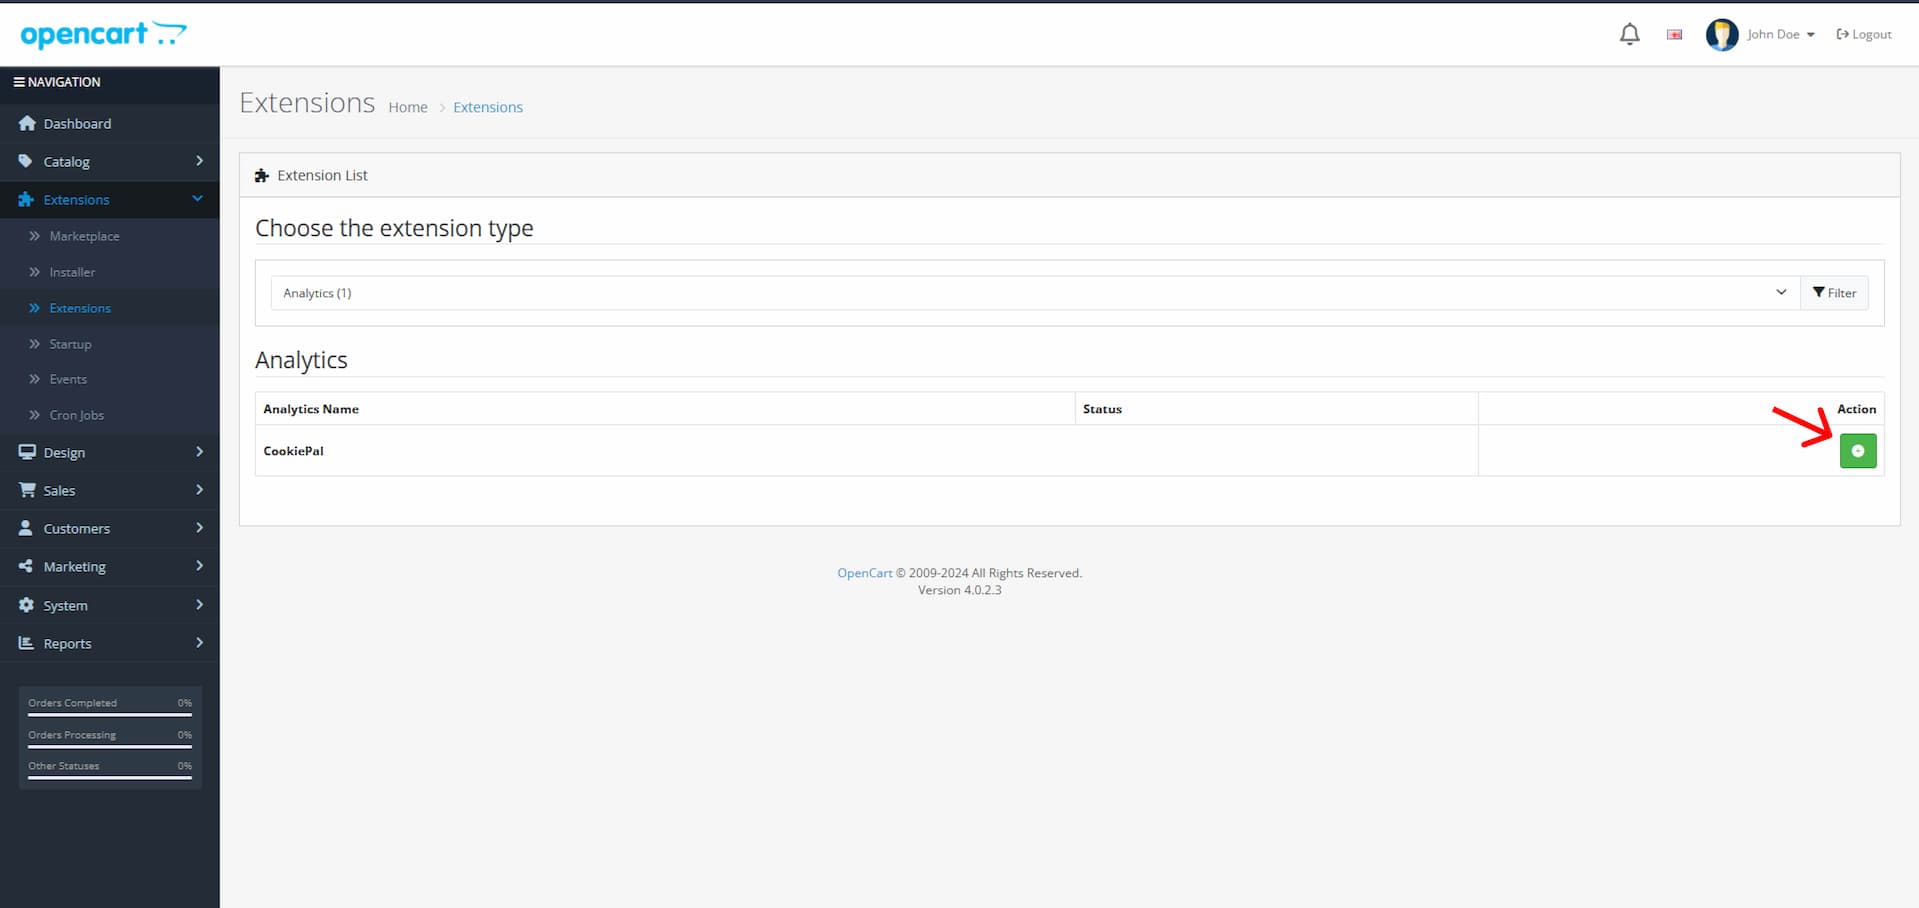
12. Install the 'CookiePal' extension
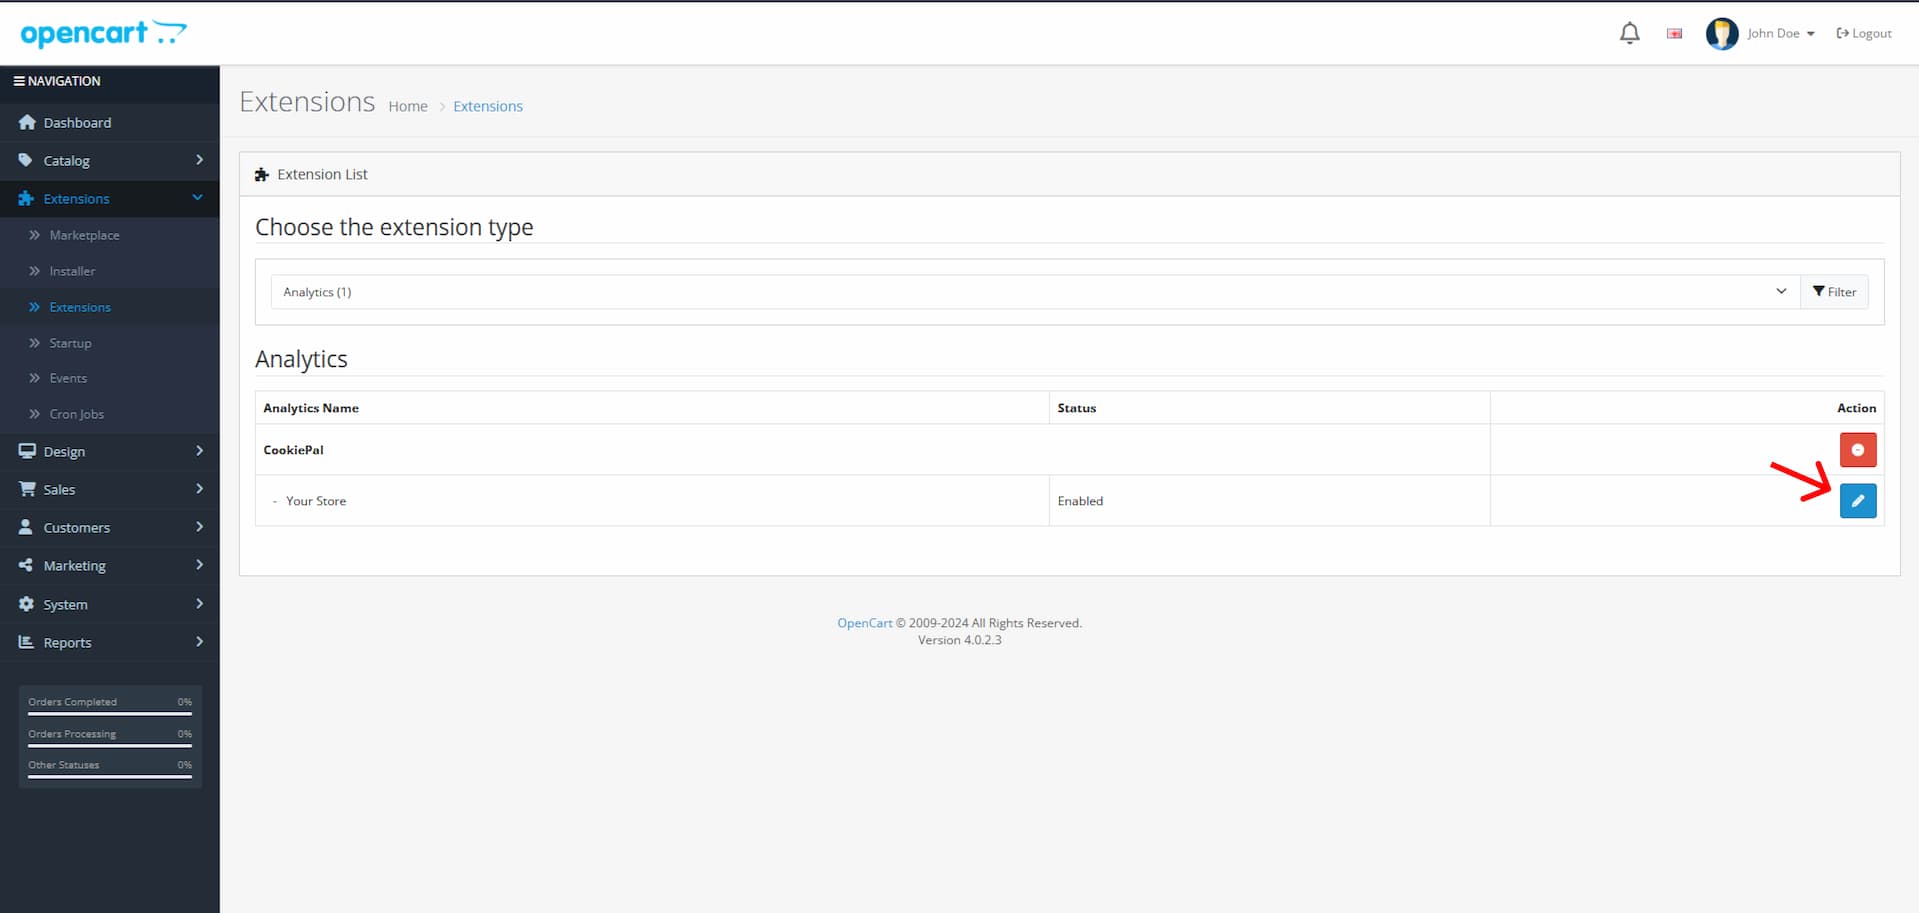
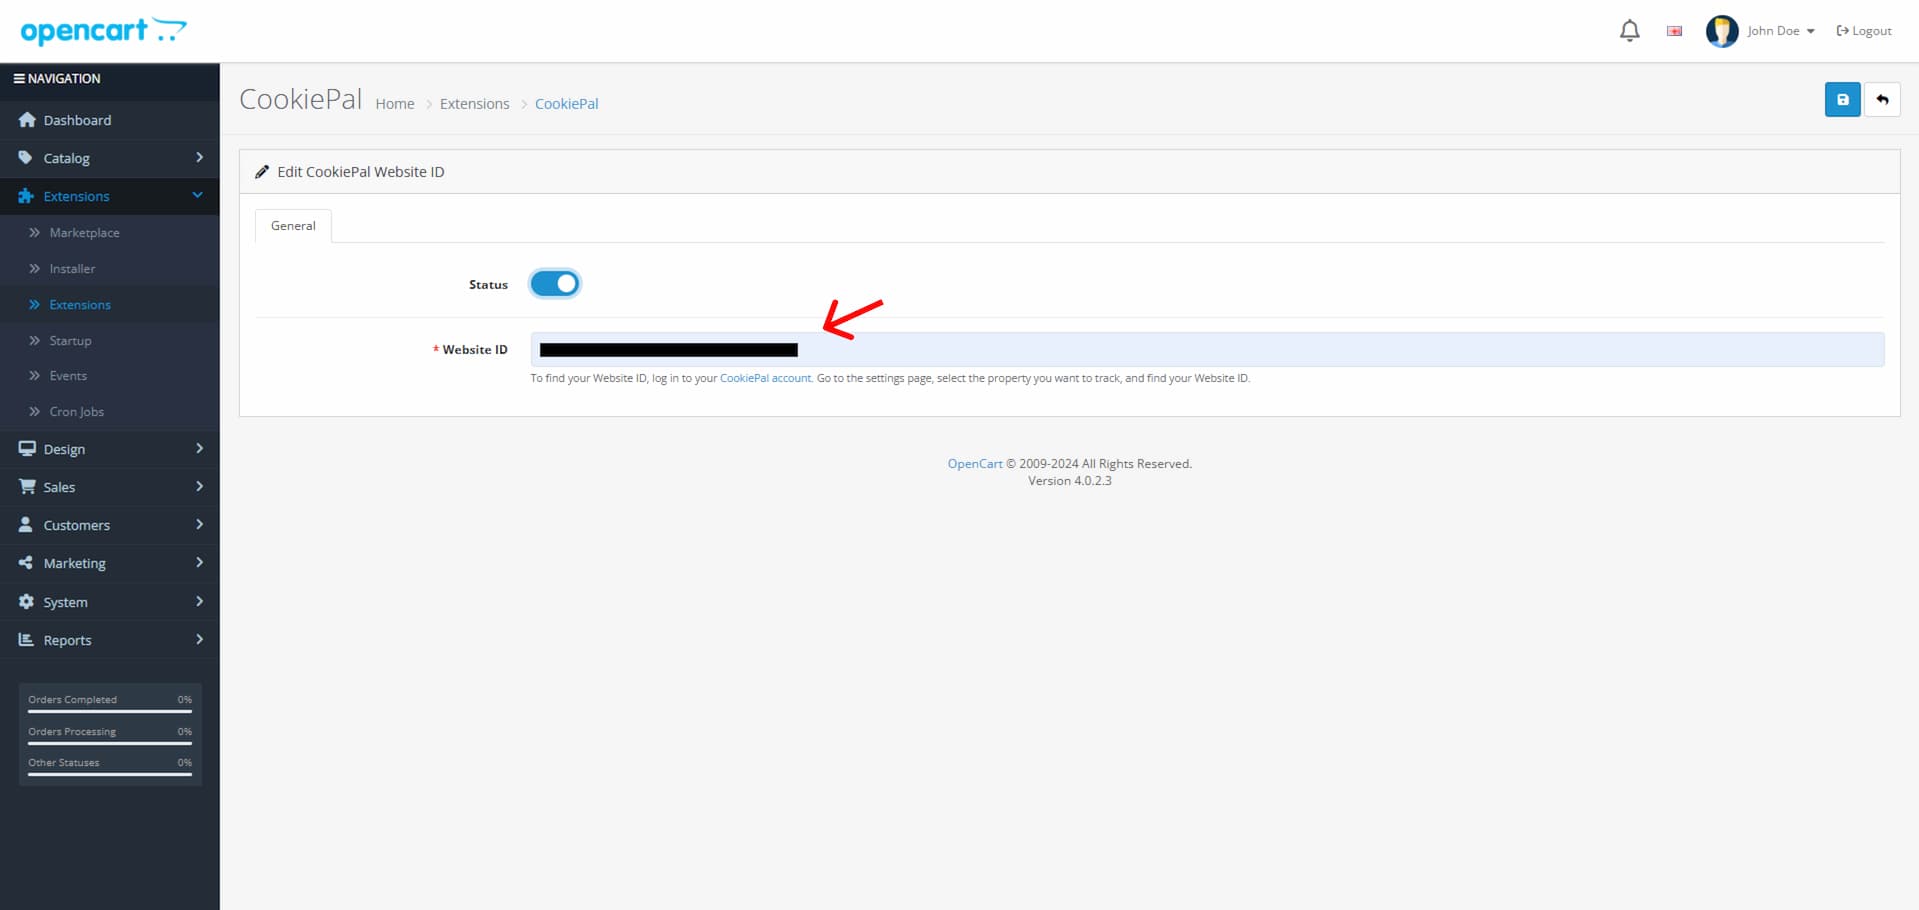
13. Edit the installed CookiePal extension
14. Paste the website ID copied from your CookiePal account
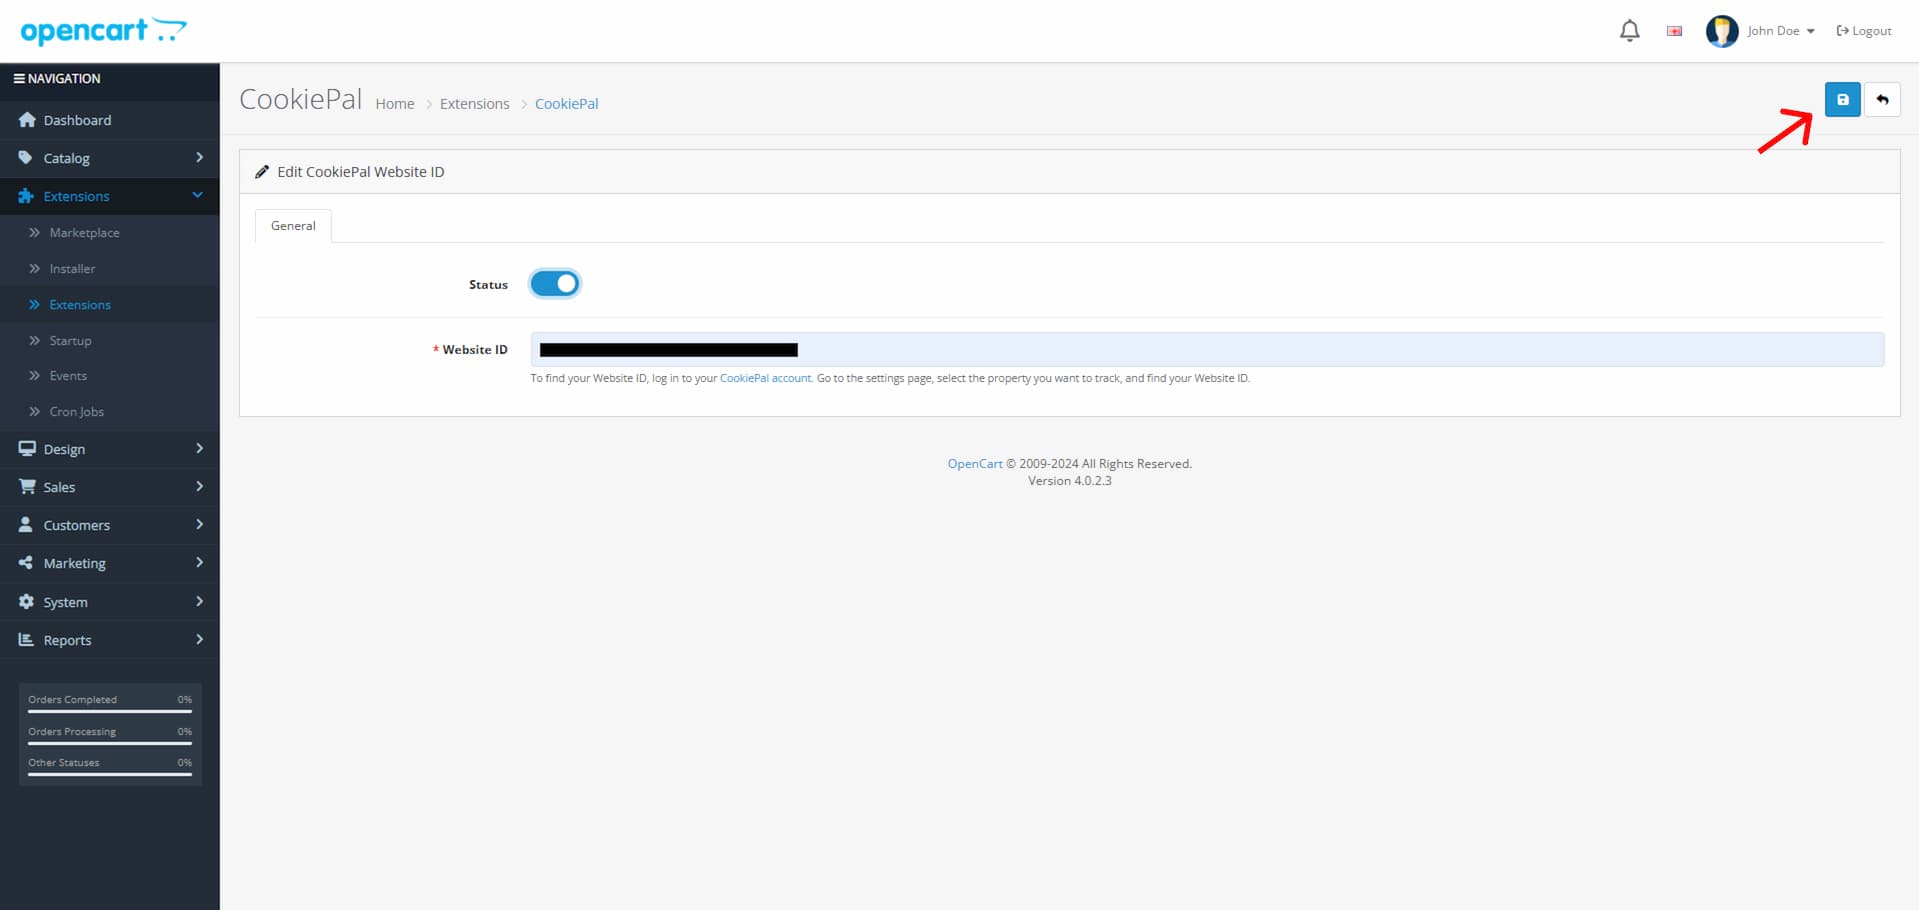
15. Save changes
Verify Integration
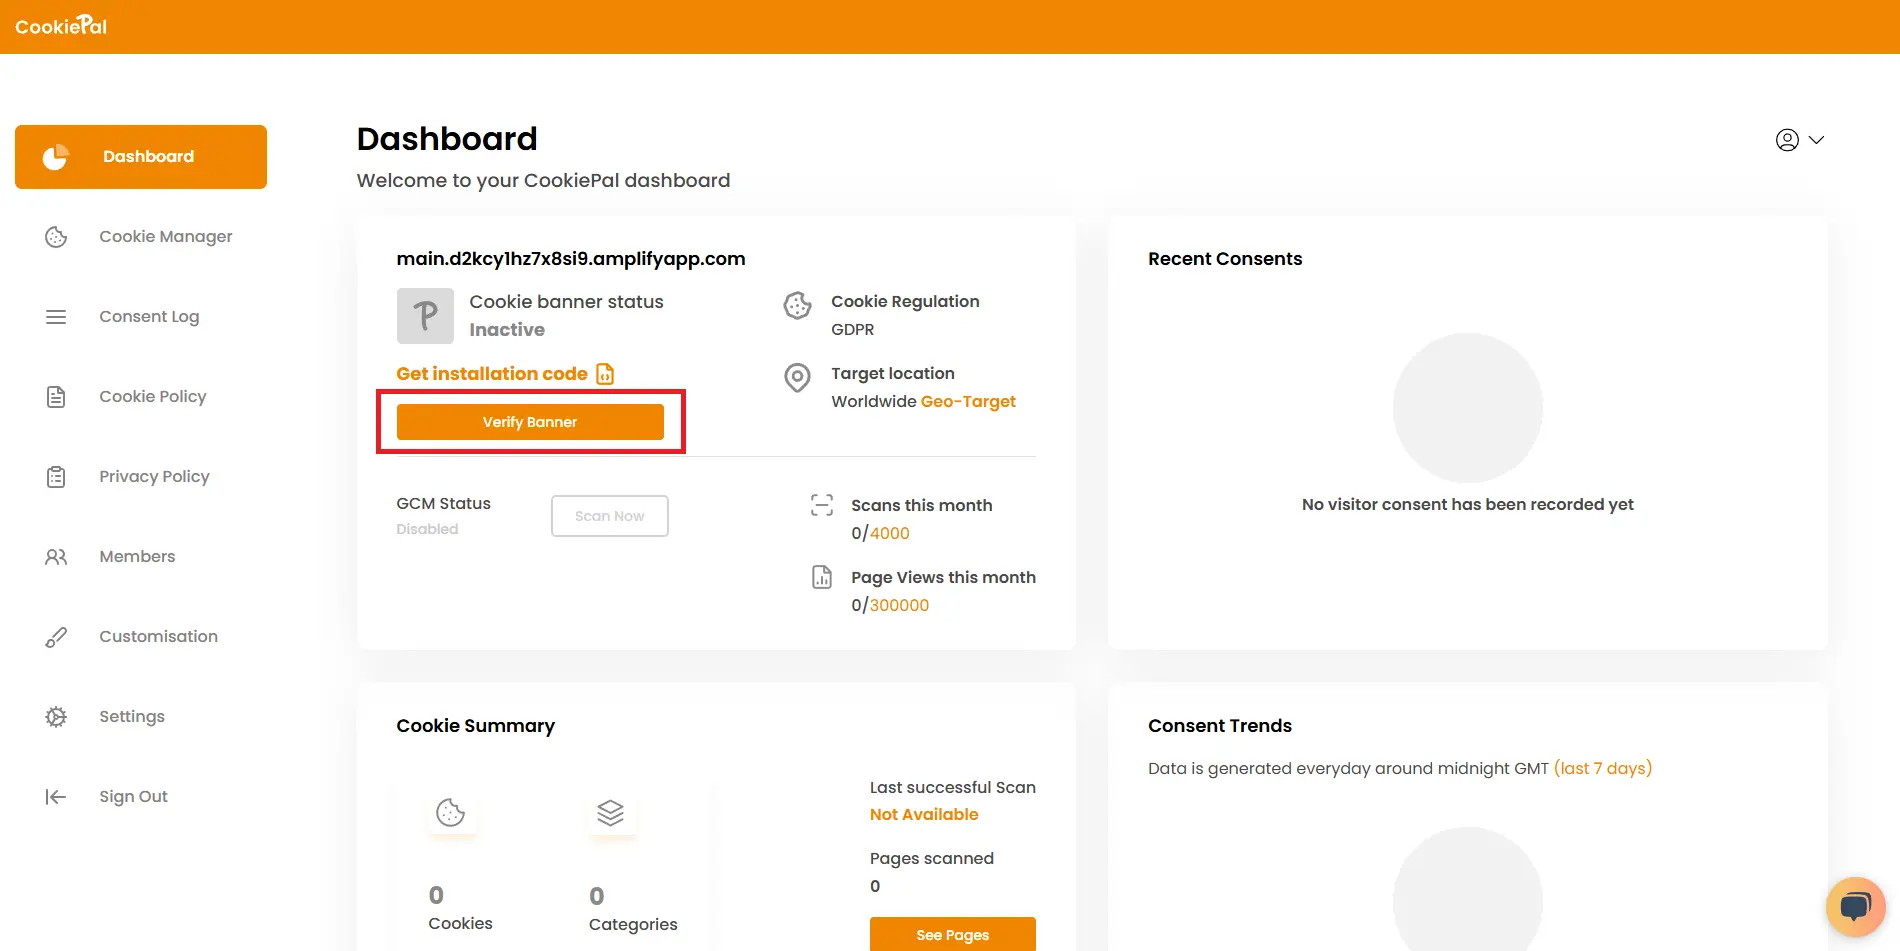
To confirm the integration of CookiePal on your OpenCart website, go to the CookiePal dashboard, and verify your banner.
Verify your banner on CookiePal.
